Video Tutorial 1 - (Steps 1 to 3)
Video Tutorial 2 - (Steps 4 to 14)
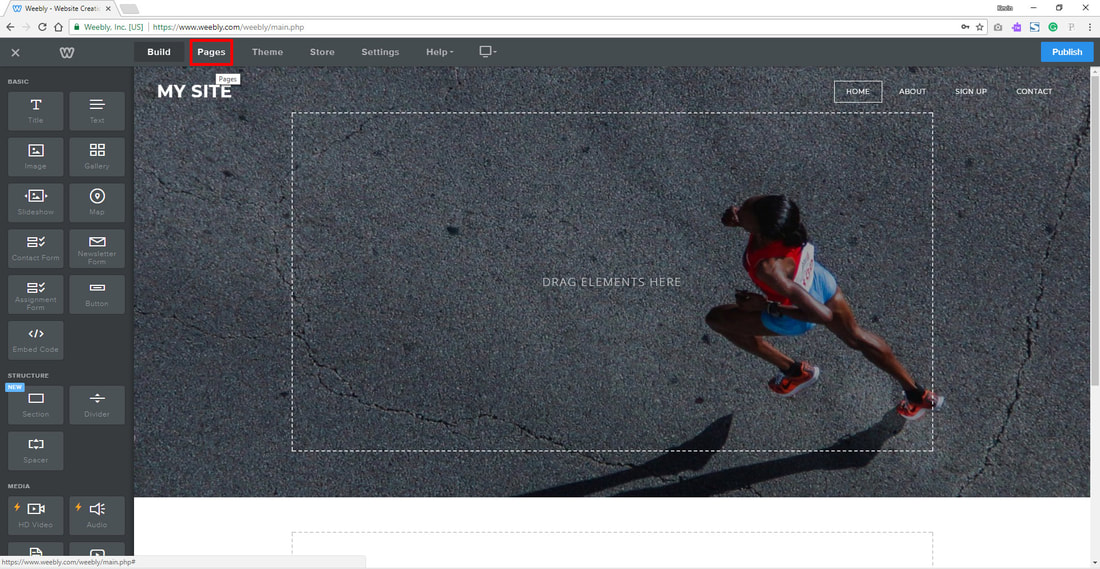
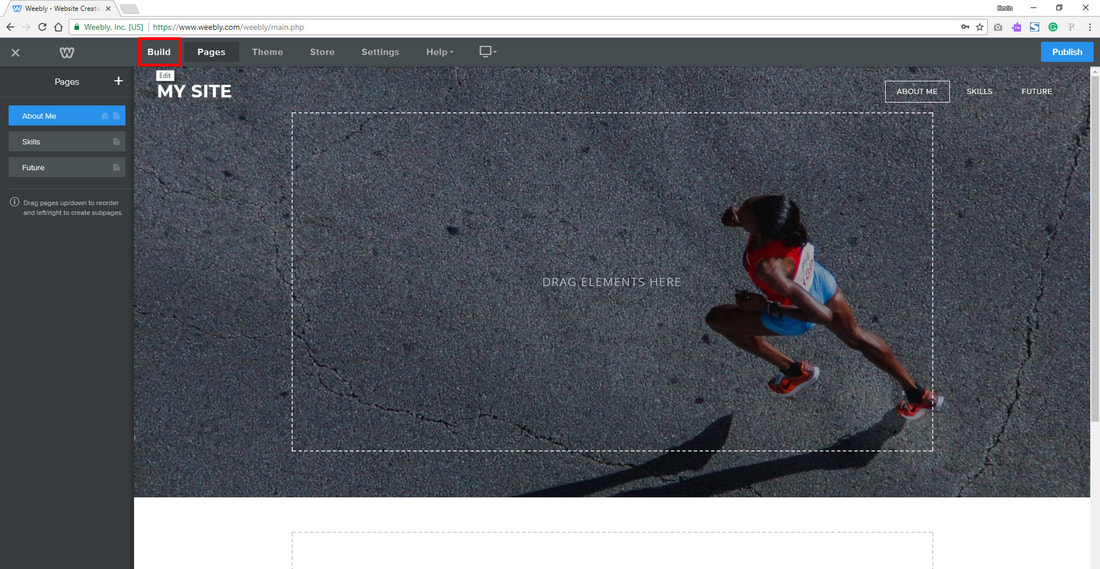
Step 4
Click on the Pages Section in the top Grey Bar
Step 5
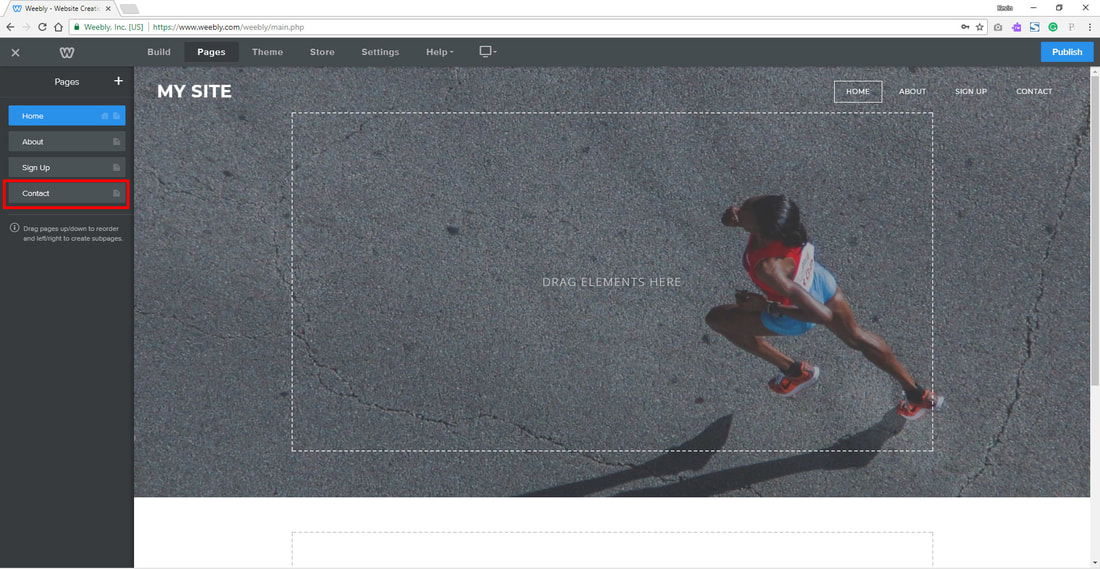
Here you can see a list of the pages that the Theme has already generated.
You will delete all the pages except the Home page.
You will delete all the pages except the Home page.

Step 6
To delete a page. Click on the bottom page (Contact in this example) to open it up
Step 7
This is what the Contact page looks like, in this Theme. Click the Delete button to remove this page
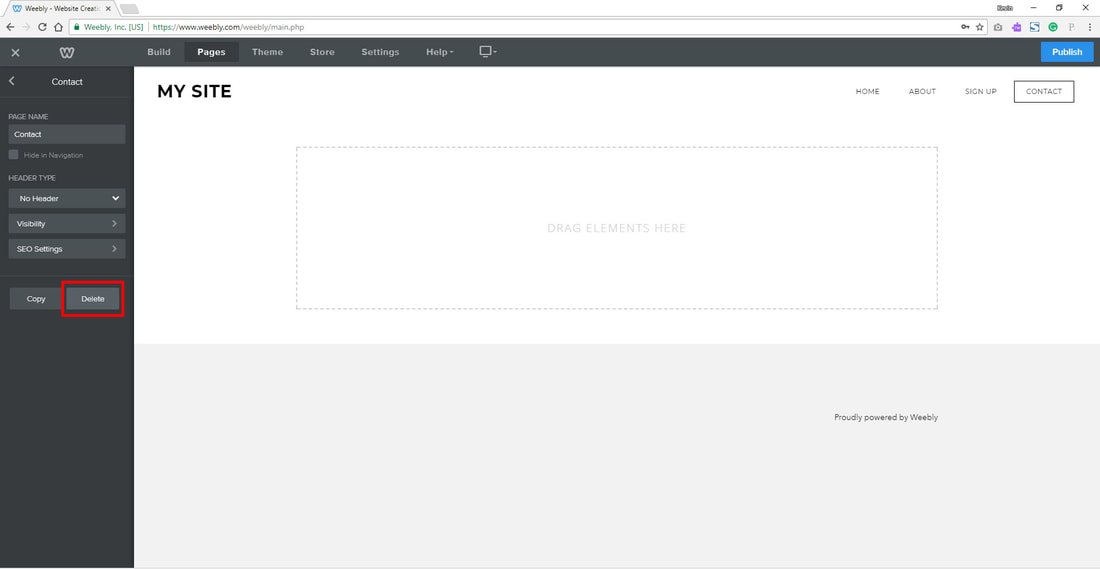
Step 8
On the confirmation page, press Delete

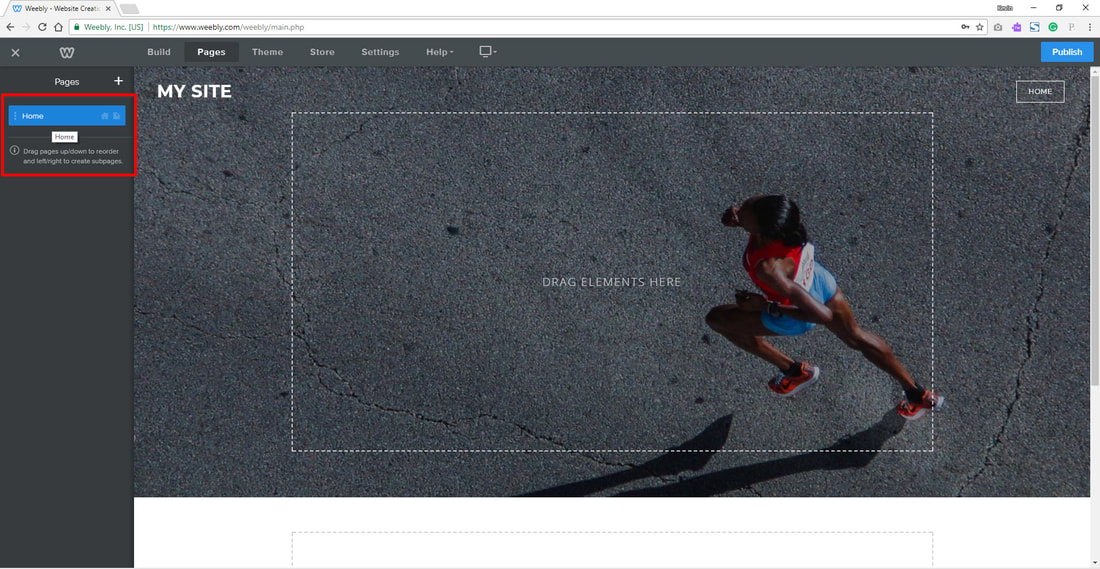
Step 9
Delete all the other remaining pages except the Home page. Then click on Home button to open up the settings panel
Step 10
Type About Me in Page Name box. Then press the arrow to the left of the word Home to exit this window.
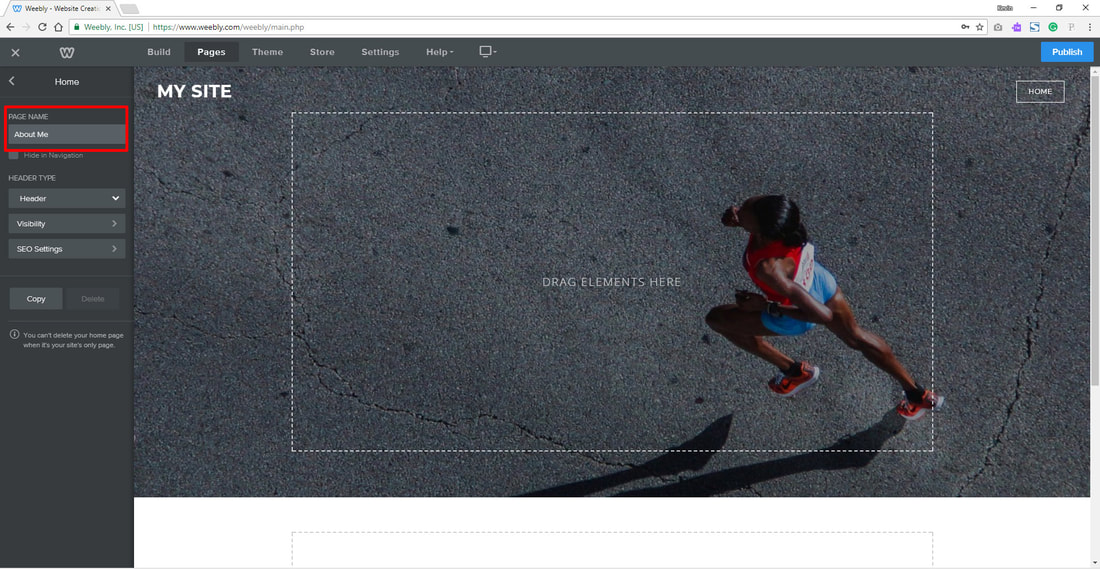
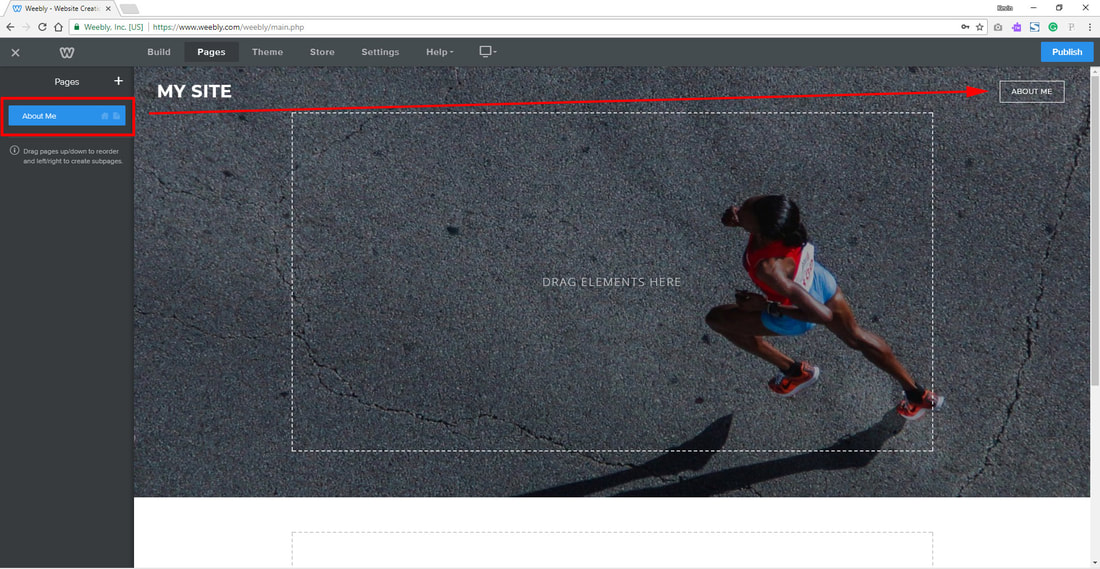
Step 11
Here you can now see the change to the Navigation bar. Home has now been changed to About Me
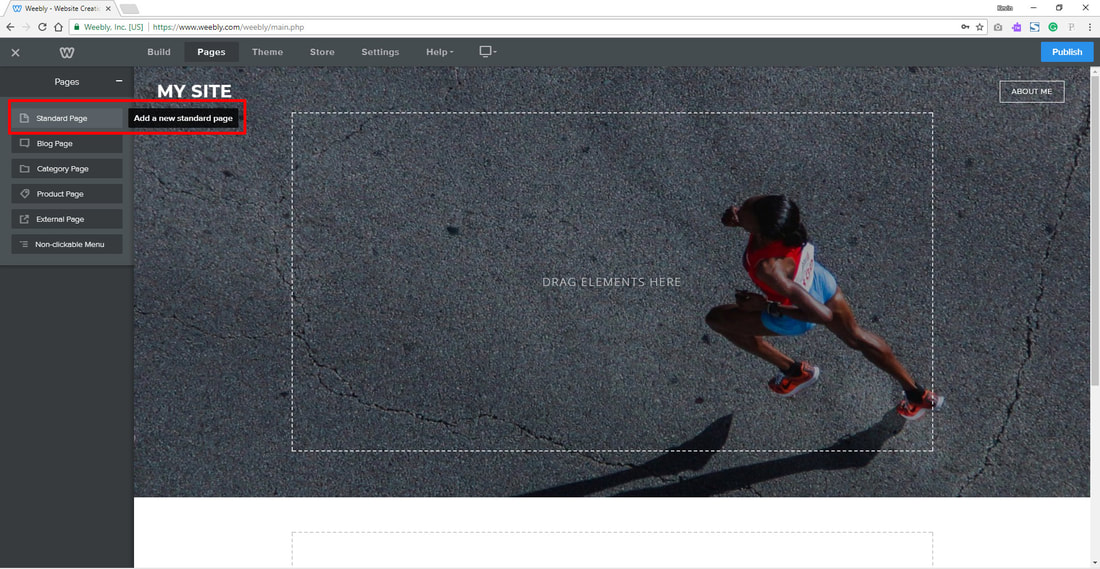
Step 12
Click the + Button to Add a new page. ALWAYS pick the Standard Page option
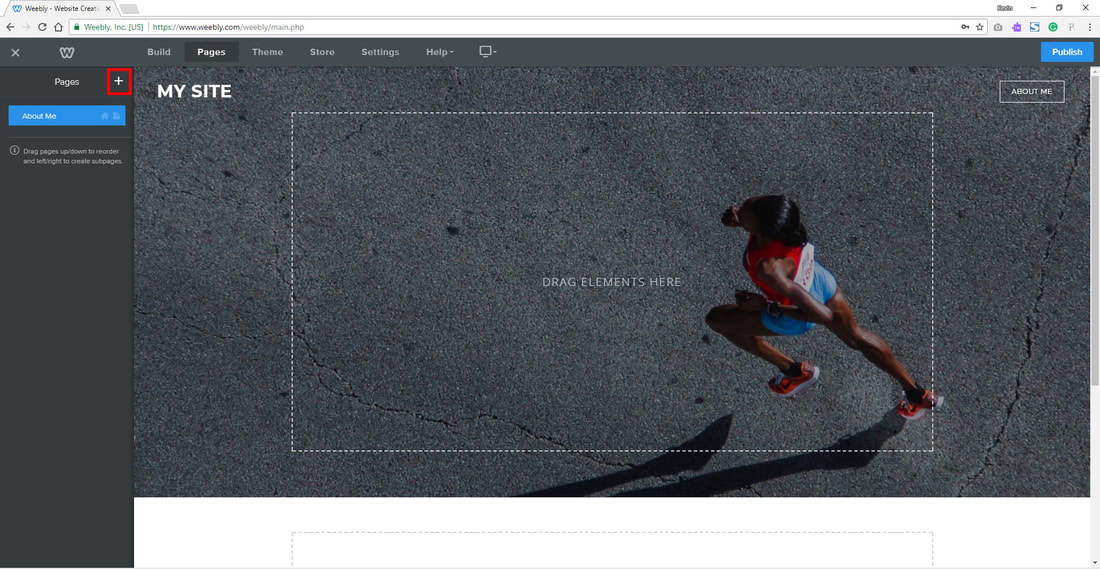
ALWAYS pick the Standard Page option
Step 13
Type Skills for the Page Name and then click Done

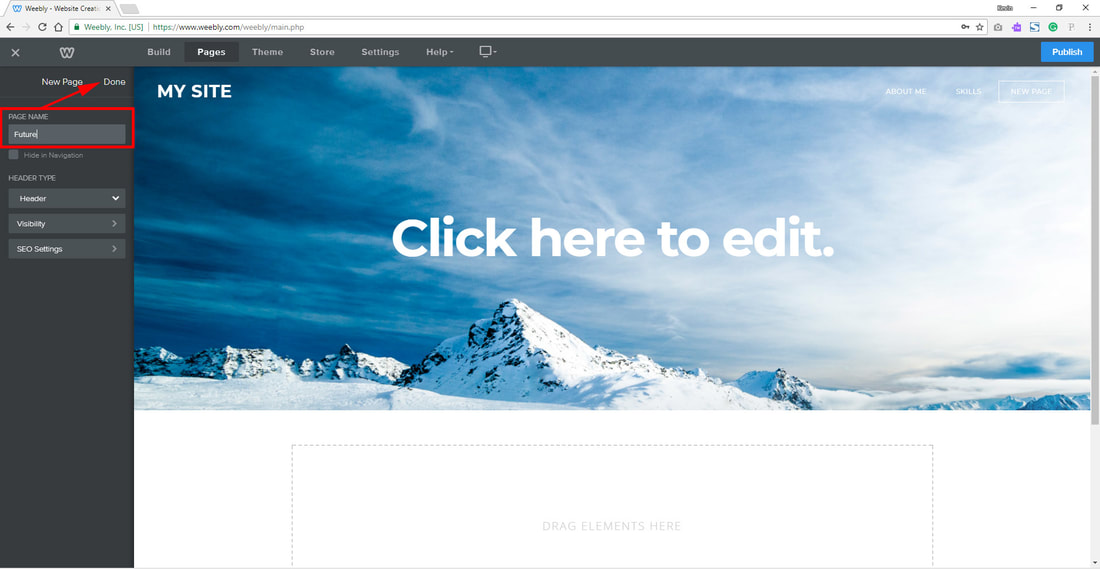
Step 14
Type Future for the Page Name and click Done
Video Tutorial 3 and 4 - (Steps 15 to 24)
Step 15
Go back to your About Me page.
Click the Build tab to Edit your sites content
Click the Build tab to Edit your sites content
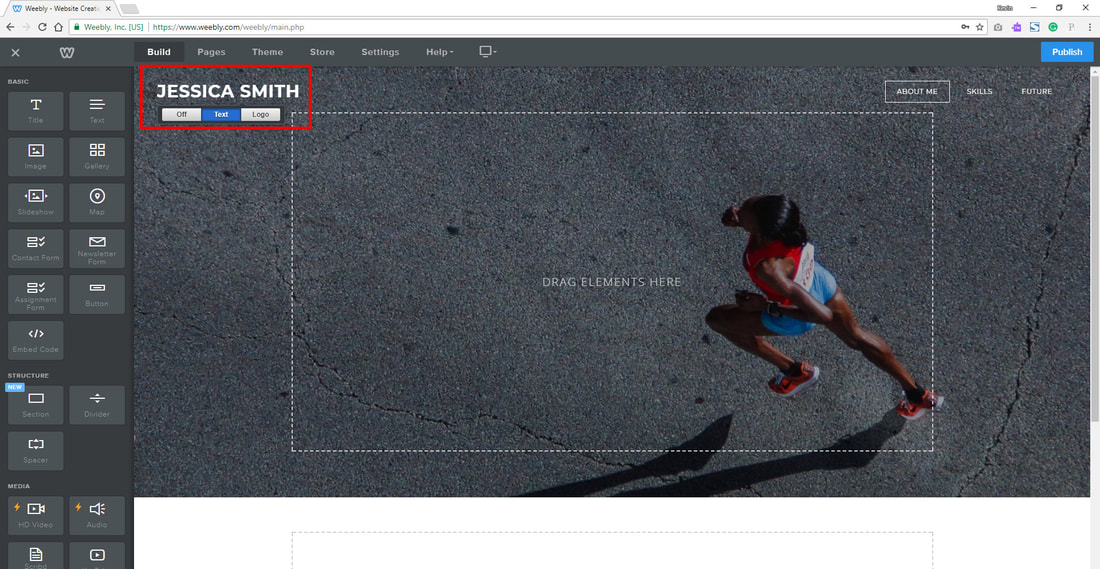
Step 16
Add a Site Title - Your Name
Step 17
The top area of the site is the Header section of a website
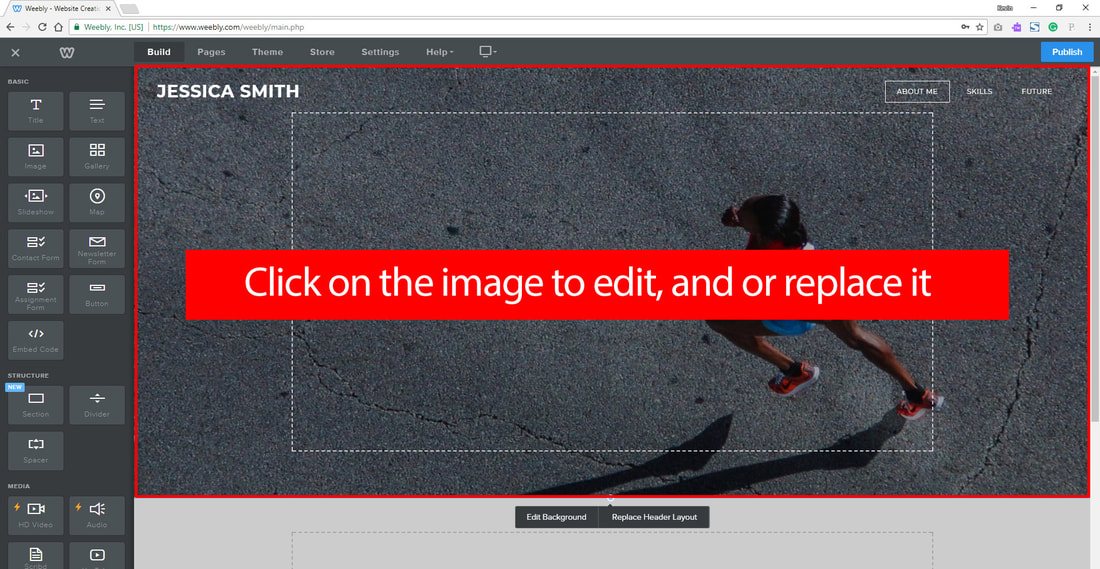
Step 18
Click on the Image to edit, and or replace it with a different photo
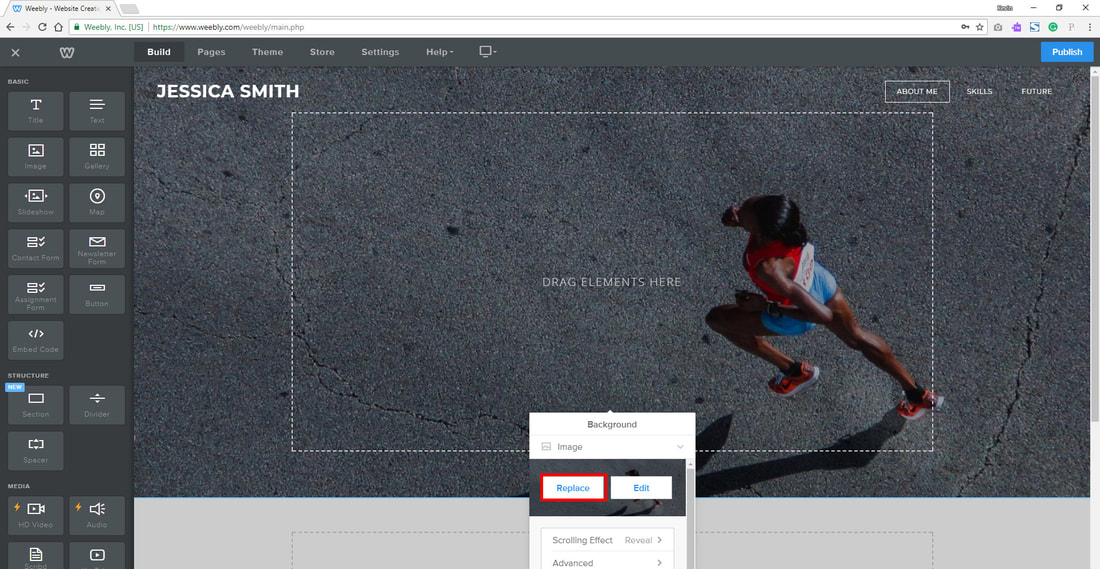
Step 19
Click Replace
Step 20
You can we photos from Google Images Search or photos that Weebly has built in : See Step 21
To use a photo from Google Image Search:
Download and photo to use from the Internet. Remember about sizes (images in the thousands place 1800x1200)
Upload from downloads folder on computer
Then click the Green Save button
To use a photo from Google Image Search:
Download and photo to use from the Internet. Remember about sizes (images in the thousands place 1800x1200)
Upload from downloads folder on computer
Then click the Green Save button
Step 21
To use a photo from Weebly:
If you want to use photos that Weebly has built into the app instead of finding photos online do the following:
Click in the Header area where the photo is located
If you want to use photos that Weebly has built into the app instead of finding photos online do the following:
Click in the Header area where the photo is located
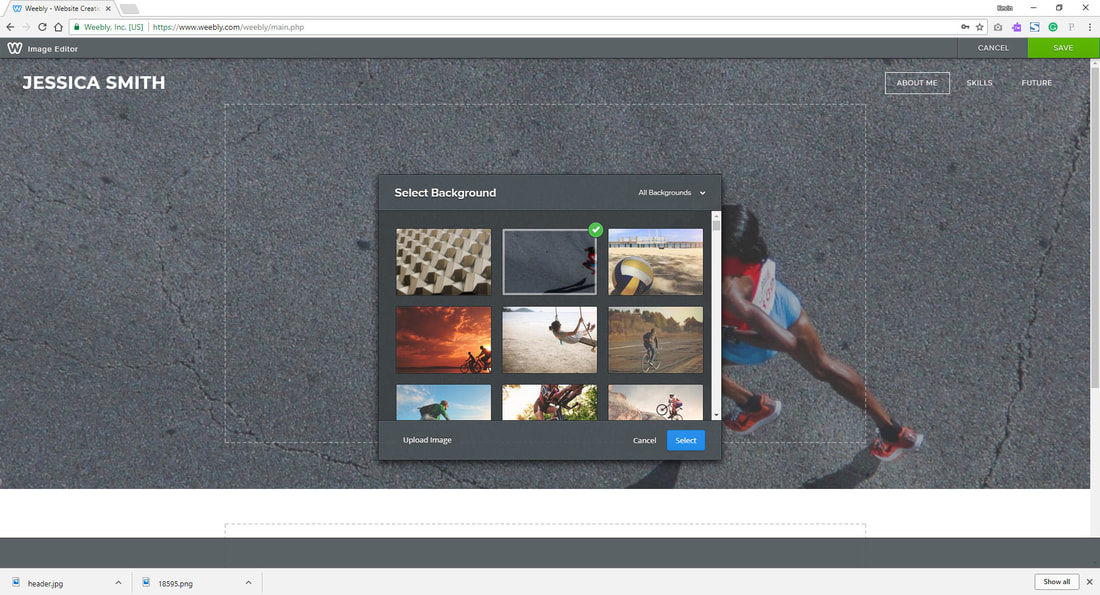
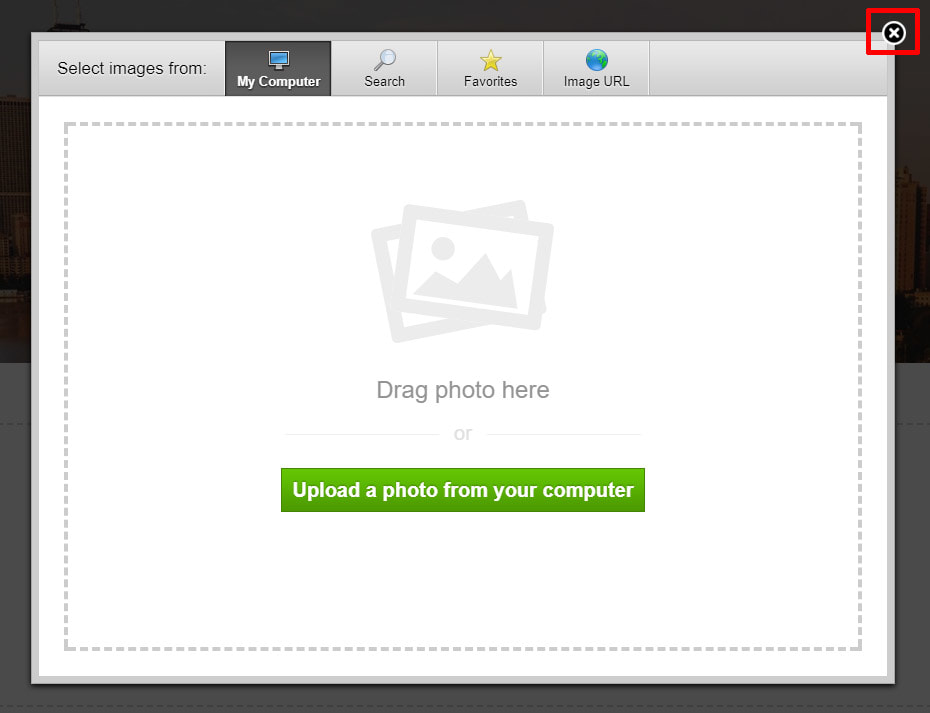
Press the X to close this Window
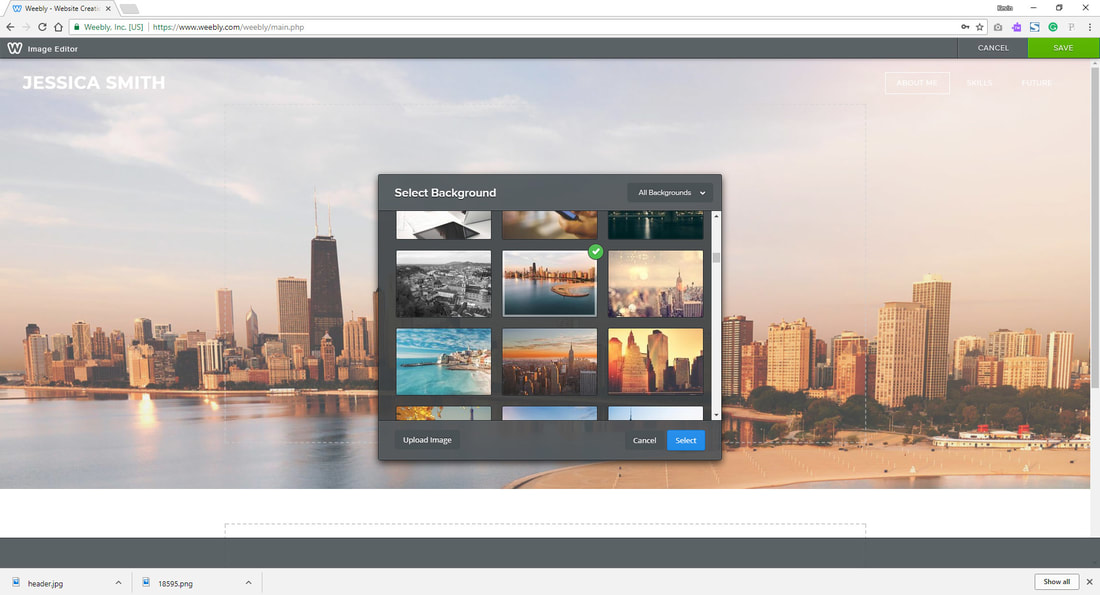
Select another Photo from the Gallery
Press Select button in Blue
Press Select button in Blue
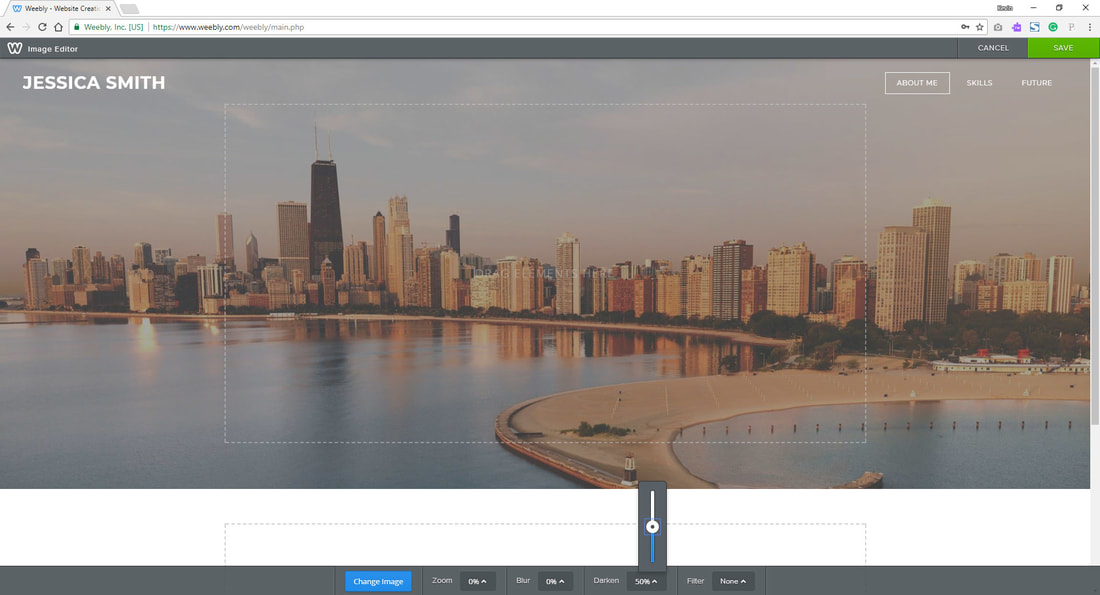
Make any adjustments to the look of the photo in the Grey bar at the bottom
Then press the Green Save Button
Then press the Green Save Button
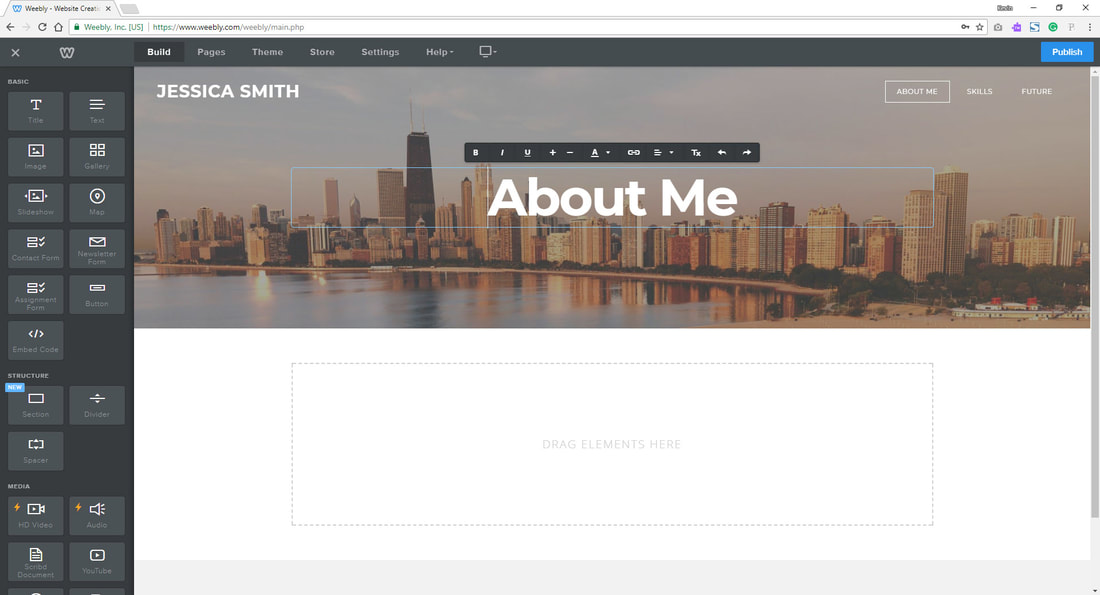
Step 22
Add the Page Title
Drag and drop the Title icon to the Header area
Drag and drop the Title icon to the Header area
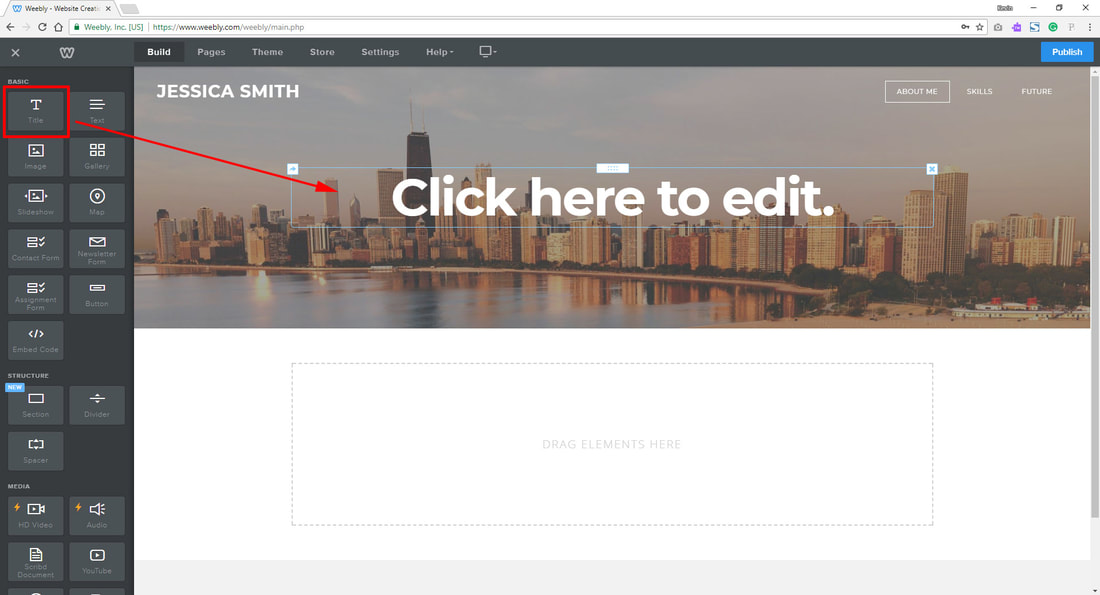
Type out the Name of this page
Video Tutorial 5 - (Step 23)
Step 23
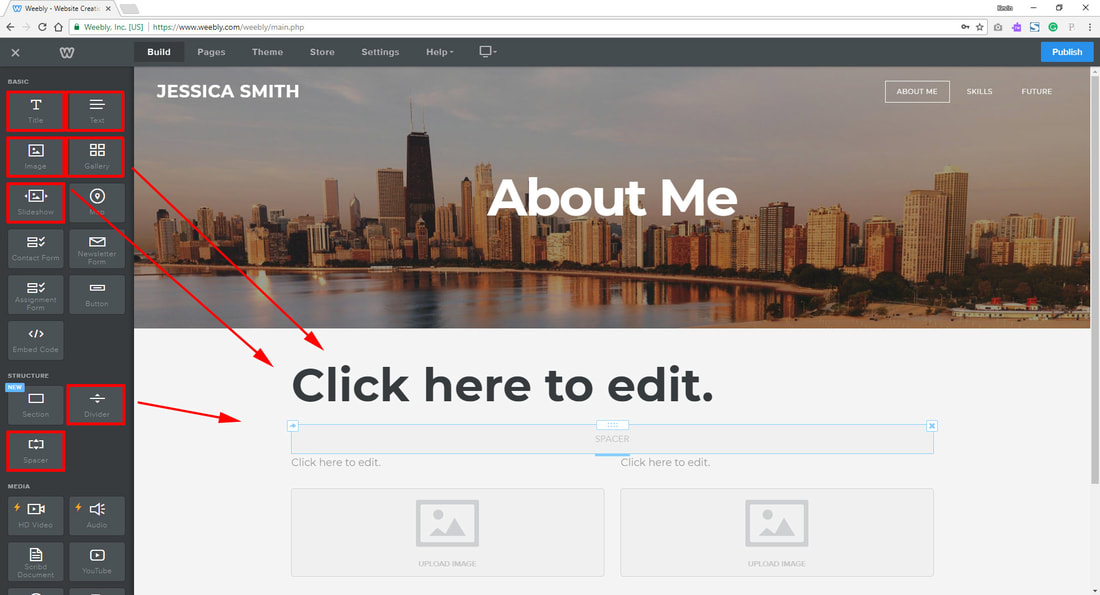
Begin to add content sections to the Body of the website.
Again drag and drop icons from the side to the Body section of the website.
Watch how the BLUE LINES show up on the screen when you drag them over to the page.
Again drag and drop icons from the side to the Body section of the website.
Watch how the BLUE LINES show up on the screen when you drag them over to the page.
The video tutorials and directions that follow below outline the
3 web pages and what MINIMAL content needs to go on these 3 web pages. You could add more than the Minimal amount of photos, and text if desired.
3 web pages and what MINIMAL content needs to go on these 3 web pages. You could add more than the Minimal amount of photos, and text if desired.
Video Tutorial 6 - (Step 24) - About Me Page
Step 24
Build your ABOUT ME Page
Web page # 1 - About Me
Your ABOUT ME web page should contain a general welcome sentence, information about you, your family, friends, hobbies, and interests. Include at least 10 photos that you have taken or use online photos of people, graphics, logos or things you like that you get from the web.
Use photos of people, or your favorite things (social media, sports, movies, hobbies, technology, activities, vacations, games, etc.) you like that you get from the web.
Personal photos can be used, but are NOT required.
REMEMBER the ABOUT ME page MUST...
Use photos of people, or your favorite things (social media, sports, movies, hobbies, technology, activities, vacations, games, etc.) you like that you get from the web.
Personal photos can be used, but are NOT required.
REMEMBER the ABOUT ME page MUST...
- Include at least 10 photos, graphics or logos on this web page.
Personal photos can be used, but are NOT required. - Make sure to add captions to your photos write and describe the photos you are using.
- Write a paragraph of 10 sentences or more on this page about yourself, family, friends, etc.
If you want to use personal photos that are on your phone you may do so. Follow the steps here to get photos on your phone to Weebly.
https://docs.google.com/document/d/1Laze-vJQgmeS9tWS8v3bu9kCuItVI3KVx0ZBtw3A62Y/edit?usp=sharing
https://docs.google.com/document/d/1Laze-vJQgmeS9tWS8v3bu9kCuItVI3KVx0ZBtw3A62Y/edit?usp=sharing
Include some (you could change or add others) of the following general info on this about me page:
Your Name: If you don't want to put your LAST NAME, just put your first name or nickname.
Age:
Birthday:
School:
Year of Graduation:
Extra-Curricular:
Best Friend:
Favorite Movie:
Favorite TV shows:
Favorite Band:
Favorite Food:
Favorite Music:
Favorite Websites:
Favorite Books:
Hobbies:
Your Name: If you don't want to put your LAST NAME, just put your first name or nickname.
Age:
Birthday:
School:
Year of Graduation:
Extra-Curricular:
Best Friend:
Favorite Movie:
Favorite TV shows:
Favorite Band:
Favorite Food:
Favorite Music:
Favorite Websites:
Favorite Books:
Hobbies:
Video Tutorial 7 - (Step 25) - Skills Page
Step 25
Build your SKILLS Page
Web page # 2 - Skills
On this web page you need to include the skills you have developed in this class, and other skills you have. What are you good at? (school subjects? technology? sports? artistic? dance? play music?)
Are you involved in clubs, organizations here at school or outside of school? talk about these and these skills.
REMEMBER on the SKILLS page you MUST...
Add your Photomontage
Are you involved in clubs, organizations here at school or outside of school? talk about these and these skills.
REMEMBER on the SKILLS page you MUST...
- Write a paragraph of 10 sentences or more about your Skills.
- INCLUDE ALL the following projects from Digital Pathways Art on this page. These are found on the Downloads folder of the computer you are using in room 217, or your Google Drive folder.
Add your Photomontage
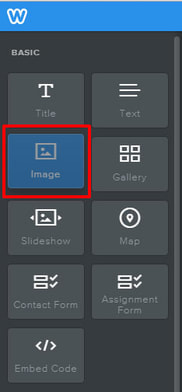
- Bring an Image Icon out from the Basic Section
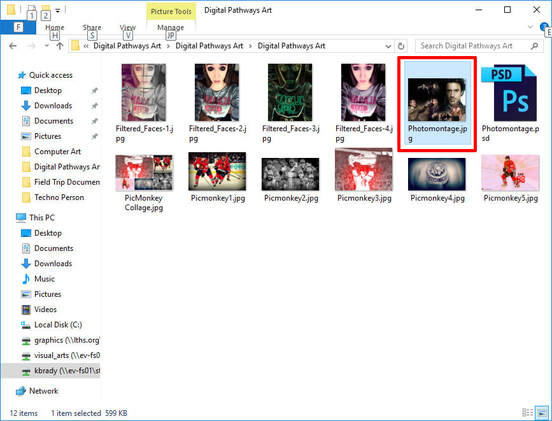
- Find your Photomontage.jpg project on your computer - Google drive folder and to add it to the page.
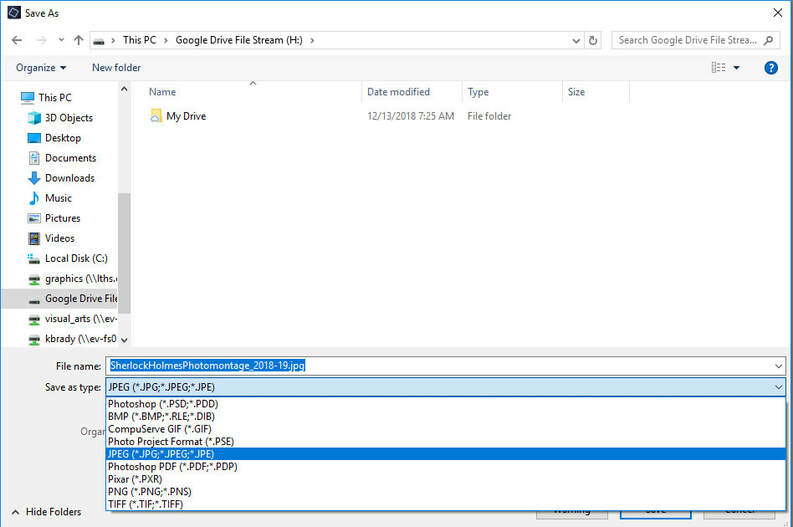
If you don't see this file, in room 217 open the Adobe Photoshop Elements and do the following:
- Open the Photoshop Elements program, look for your Photomontage.psd project. Open this project which should have been saved to your Google Drive.
- File > Save As
- Select your Google Drive from the Save in: drop down area.
- Keep the File Name for the project Photomontage
- Save as type: JPEG
- Click OK for the JPG Options when the dialog box appears
- Click the Save button
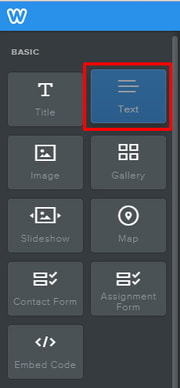
- Bring out the Text Icon and add type out a description of this project, the steps taken to create it, and program used to create it.
|
|

|
Add your PicMonkey Collage
- Bring an Image Icon out from the Basic Section
- Find your PicMonkeyCollage.jpg project in the Downloads folder and to add it to the page.
- Bring out the Text Icon and add type out a description of this project, the steps taken to create it, and program used to create it.

|

|

|
Add your Digital Citizenship Piktochart Poster
- Bring an Image Icon out from the Basic Section
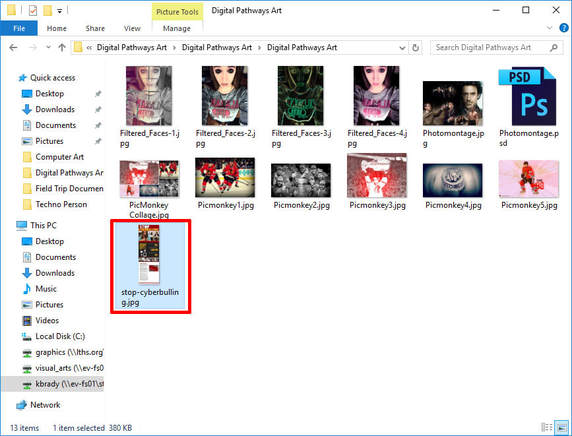
- Find your Digital Citizenship Poster.jpg project in the Downloads folder and to add it to the page
- Bring out the Text Icon and add type out a description of this project, the steps taken to create it, and program used to create it.

|
|
|
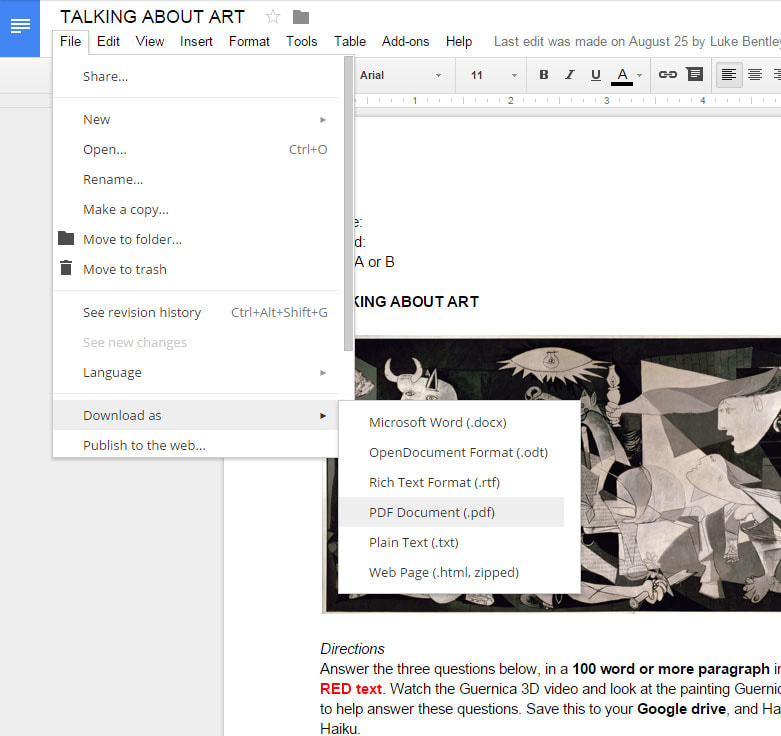
Add your Talking About Art assignment
- Open this Google Doc: Talking About Art and then choose File > Download As... PDF Document
- This will go to your downloads or Google Drive folder if your using your Chromebook.
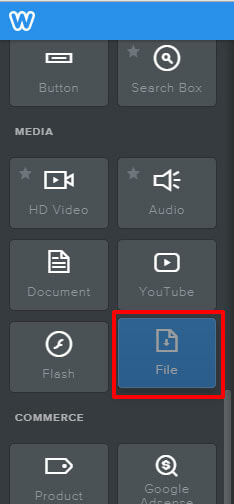
- Next, on Weebly site bring an File Icon (NOT the IMAGE icon) out from the Media Section
- Find your Talking About Art.pdf in the downloads folder and to add it to the page.
- Bring out the Text Icon and add some text that describes this project.
|
|

|
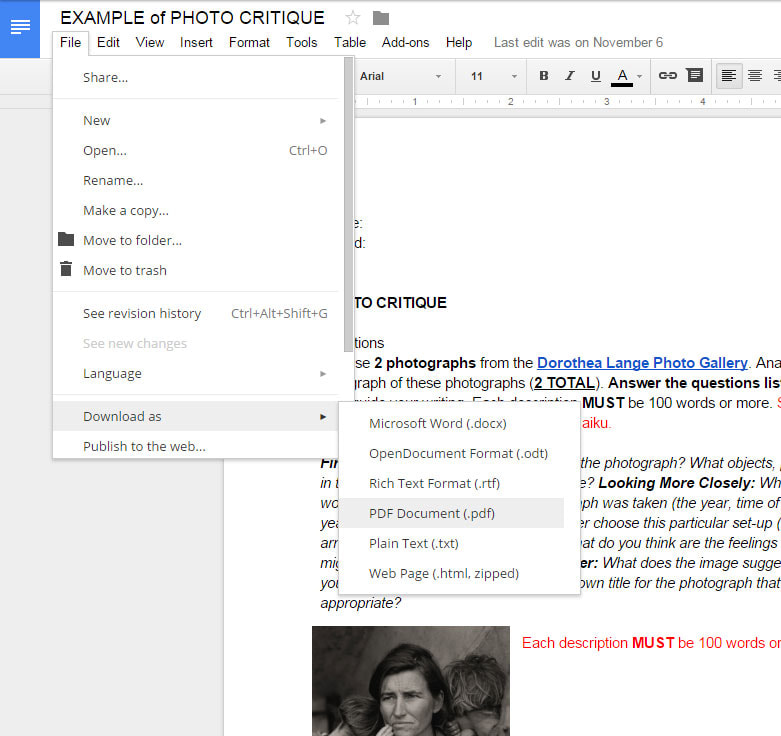
Add your Photo Critique Assignment
- Open this Google Doc: Photo Critique and then choose File > Download As... PDF Document
- This will go to your downloads or Google Drive folder if your using your Chromebook.
- Next, on Weebly site bring an File Icon (NOT the IMAGE icon) out from the Media Section
- Find your Photo Critique.pdf in the downloads folder and to add it to the page.
- Bring out the Text Icon and add some text that describes this project.
|

|

|
Add your WeVideo Multimedia Movie - follow steps below
- Go to WeVideo and log-in
- Under the Videos Tab at the top - Select the video you want to put on your Website - double click to open it
- Download it to your computer or Chromebook.
- Go to Youtube
- Press upload video button
- Press publish button
- Click link to view your video
- Copy this link
- Then back in Weebly, bring an YouTube Icon out from the Media Section
- Click on the placeholder Youtube video and Paste it into the Link URL, click off the video and your video will now appear.
- Bring out the Text Icon and add type out a description of this project, the steps taken to create it, and program used to create it.
To do these steps above visually - Look at ALL the screen shots below to complete multimedia movie upload to YouTube:
Other projects could be added from other Digital Pathways classes or from core classes like English, Science, Social Studies, etc. as Documents or Files
List of different files you can include on Weebly: GOOGLE DOCS won't work.
List of different files you can include on Weebly: GOOGLE DOCS won't work.
- Word
- Videos you created and published to YouTube
- PowerPoint
- Excel
- Image Slideshows
- Audio Files (speeches)
Video Tutorial 8 - (Step 26) - Future Page
Step 26
Build your FUTURE Page
Web page # 3 - FUTURE
What lies ahead for you? What are your dreams? Are you planning on going to college? What do you want to do for a job in the future? What skills are needed for that job? What is the job outlook for this career? How much money can I make in this job?
Use the Xello website and other websites to find the following information about the job you have interest in…
A Job Description, Educational Requirements and the Starting Pay for that job.
Use the Xello website and other websites to find the following information about the job you have interest in…
A Job Description, Educational Requirements and the Starting Pay for that job.
- Write a paragraph of 10 sentences or more about your possible job/career of interest.
- Include at least 5 photos or graphics about this job on this web page.
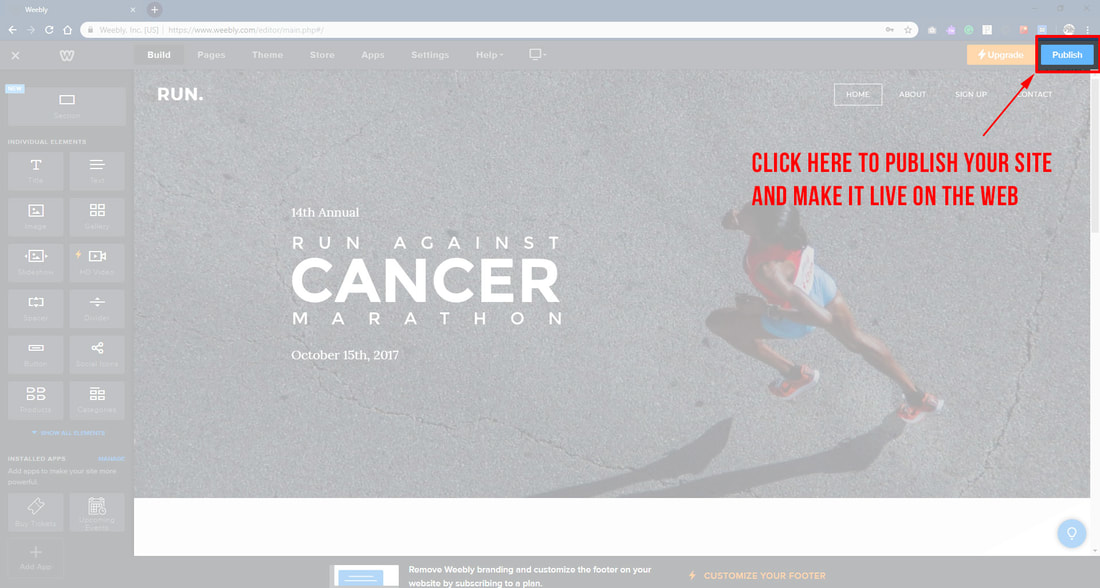
When your Weebly Website is finished follow the steps below:
Publish your site when you are finished adding content to your pages. This will now make your website live and visible when you set up your domain name.
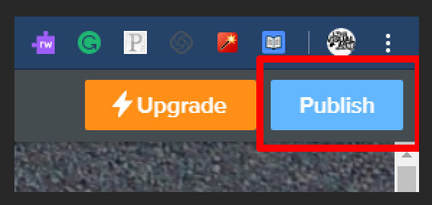
To begin... Press the Publish Button

Type your first name and the last 6 numbers of your school ID.
Then Press the Search button and then the Choose button
Then Press the Search button and then the Choose button

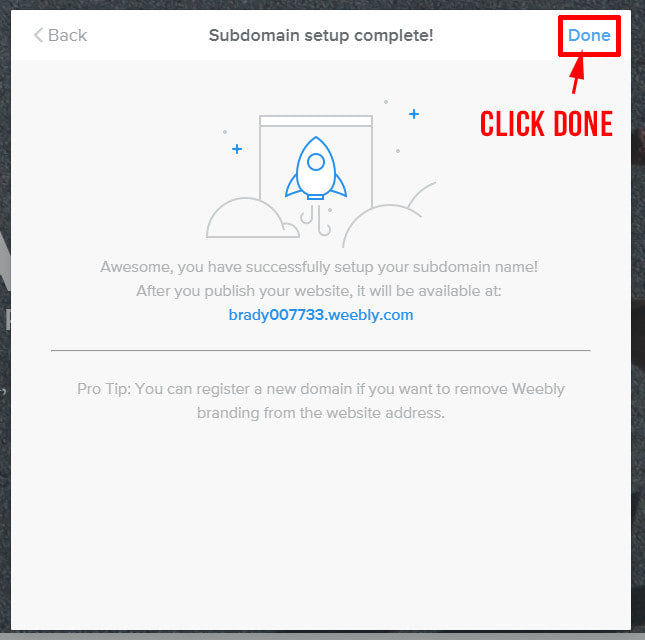
to finish click the Done button
Click the Publish button again if the dialog box above closes.
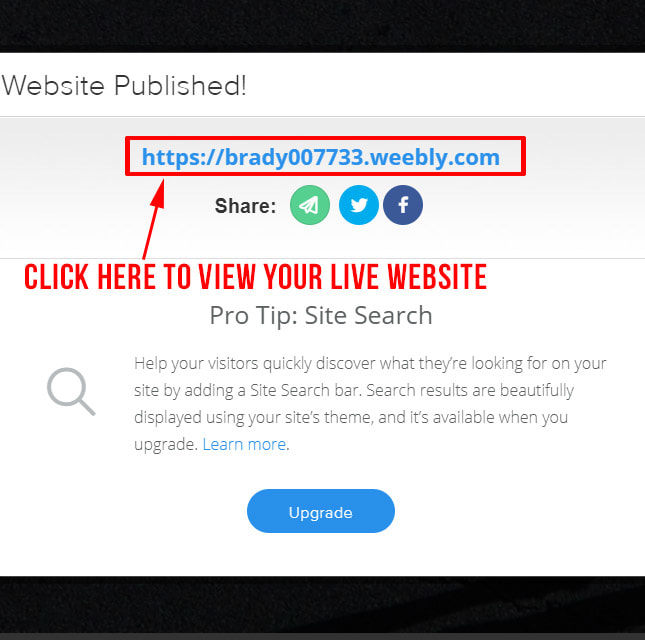
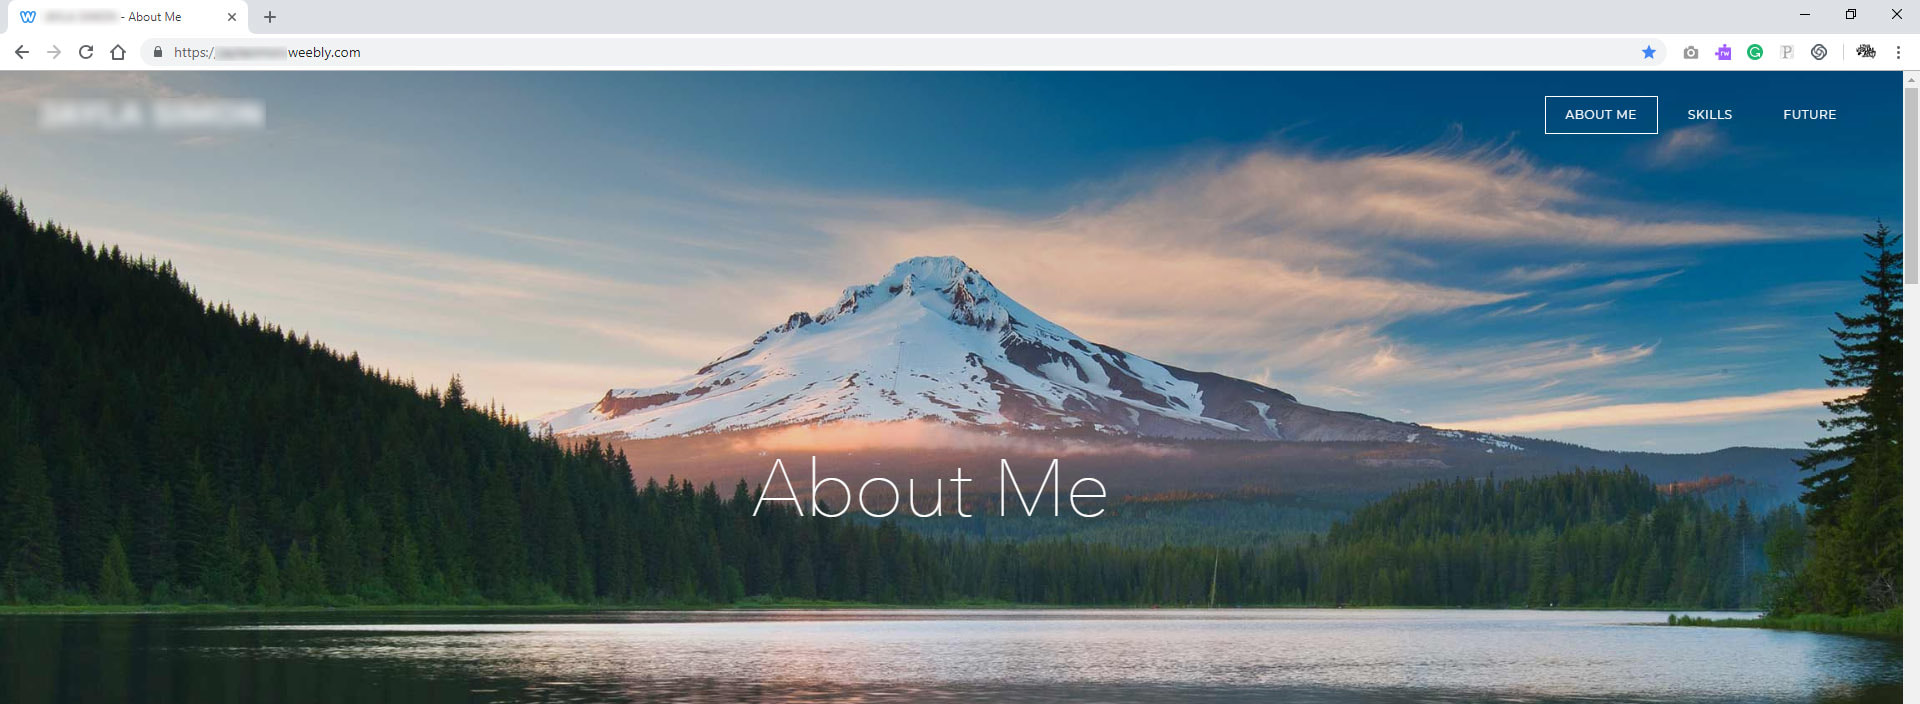
It will open in a web browser and you can view your live fully functional website. Check over all three of your web pages. Fix any mistakes and press the publish button again to save your updates.
Finally
Submit your website to your Teacher for Grading
* REMEMBER: Your site must be Published before you do this step.
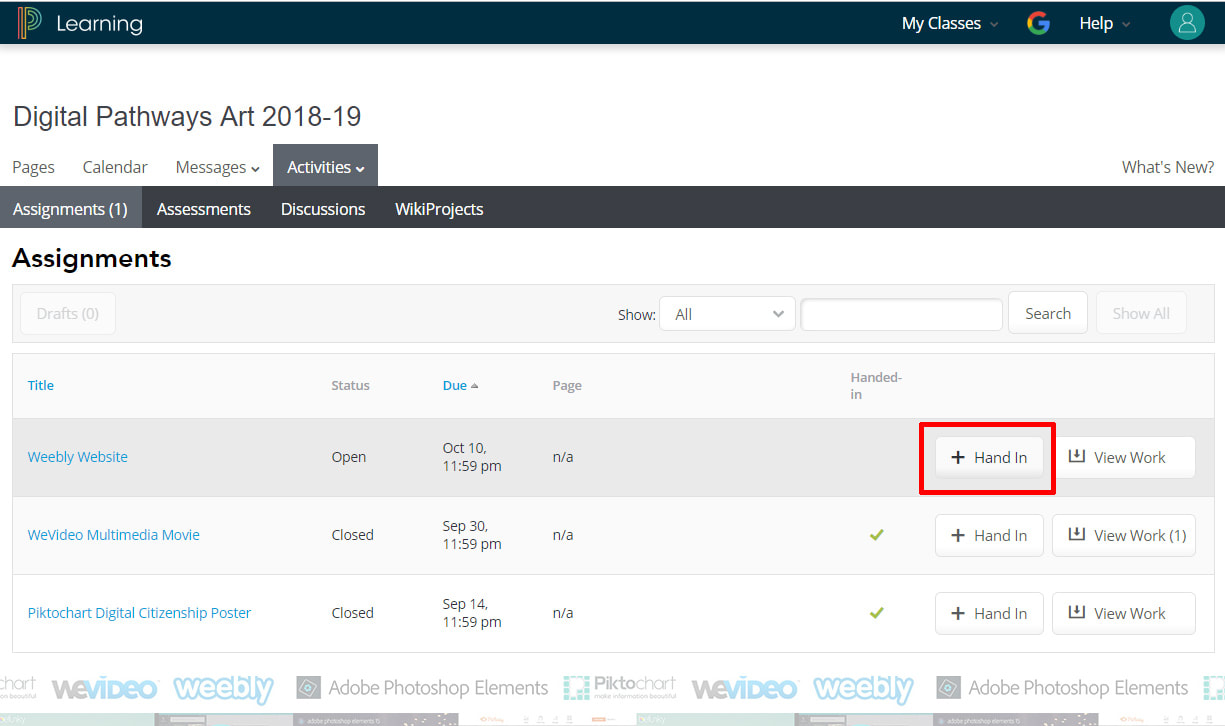
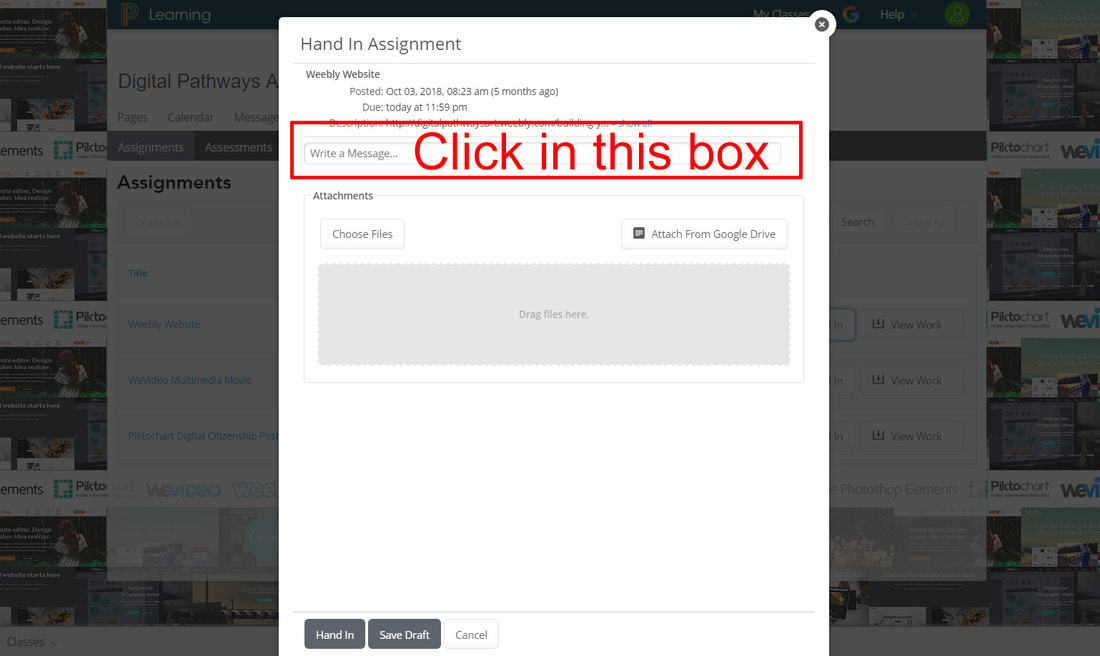
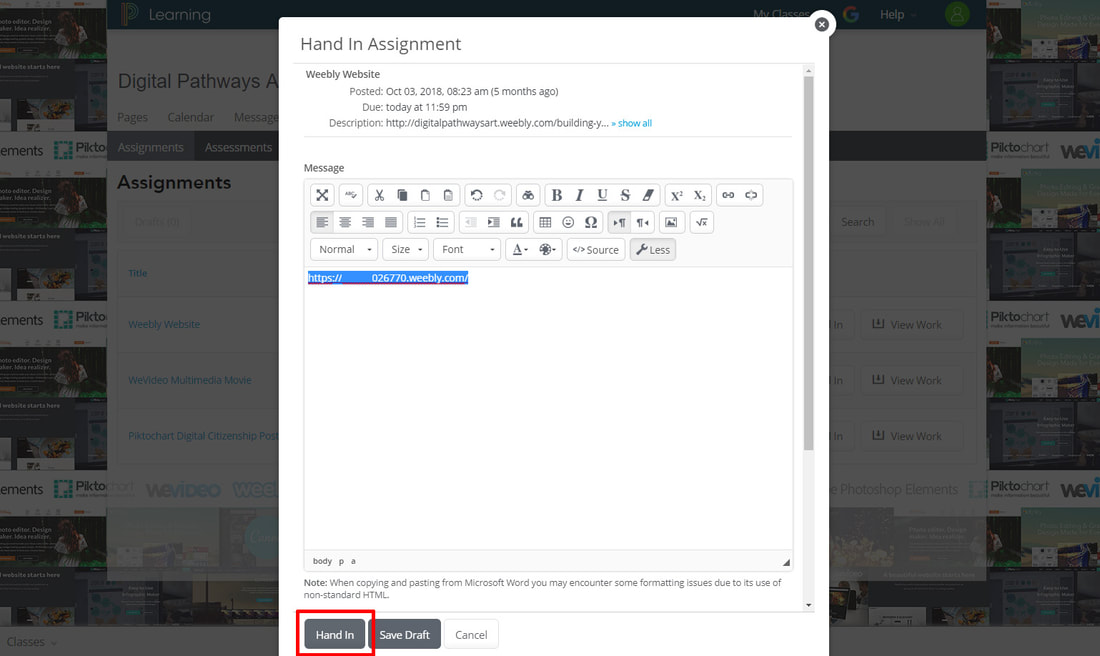
Hand in for Grading thru PowerShool class site
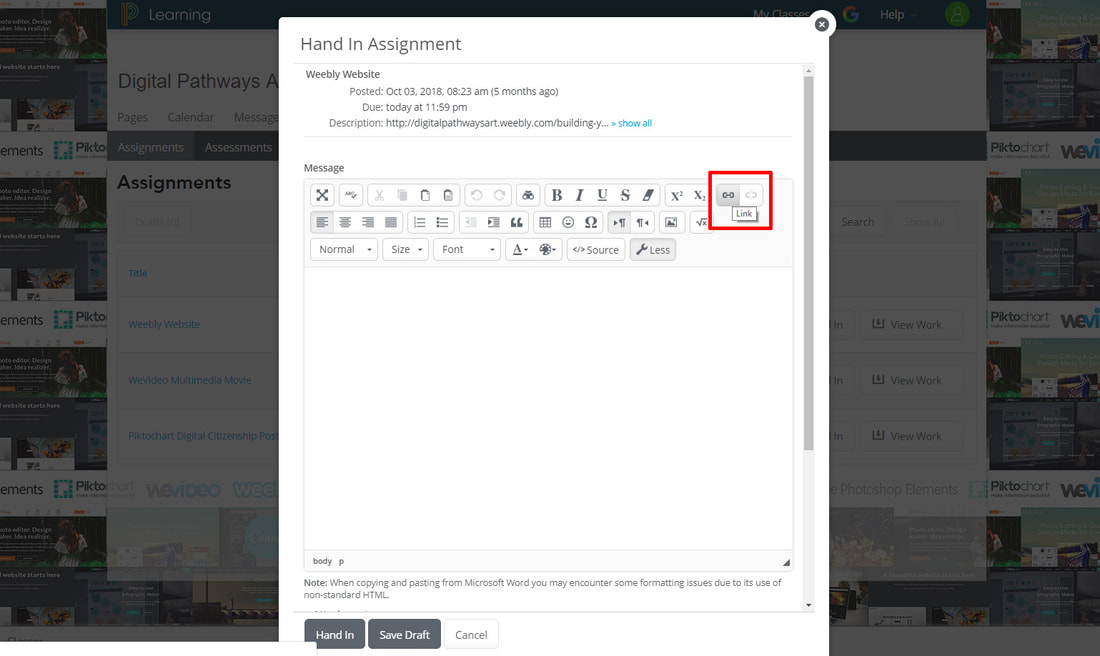
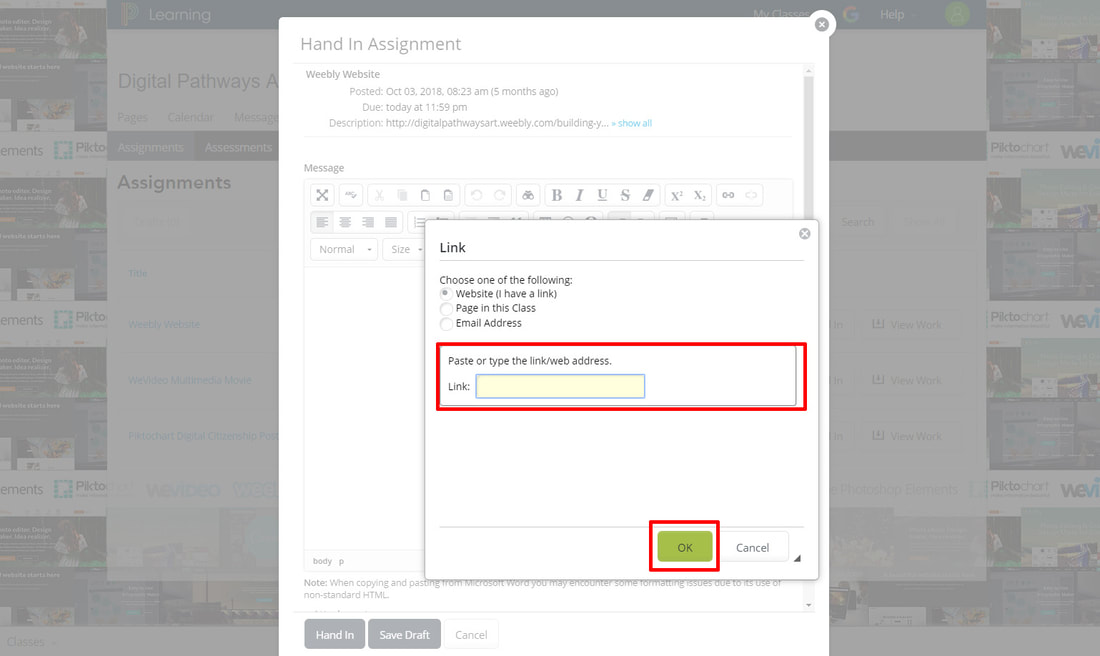
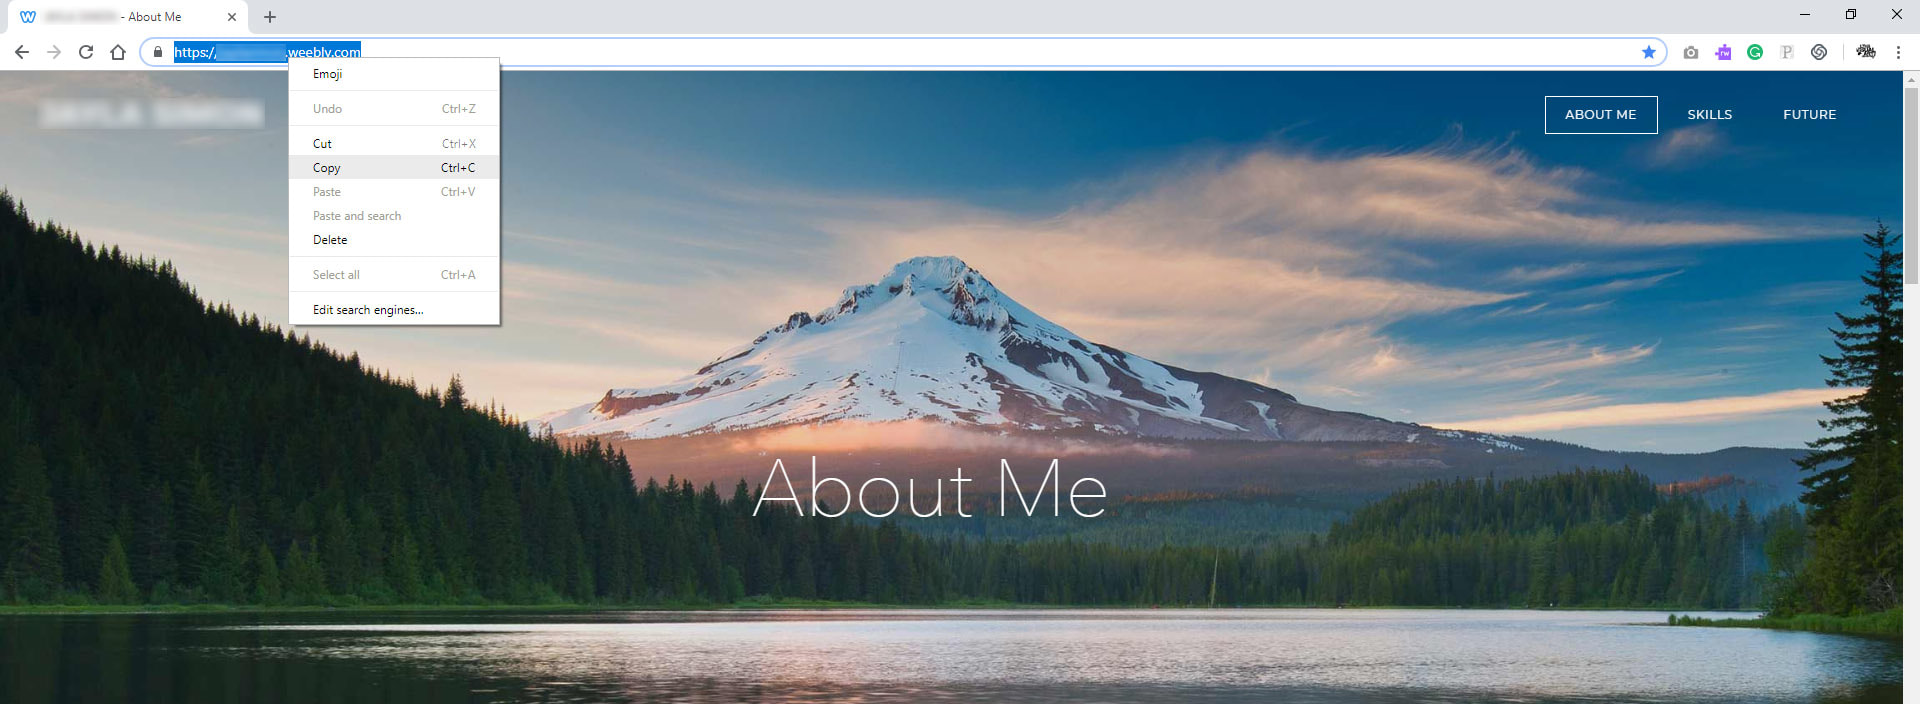
Right click and Copy your web site address (URL)
Go to our PowerSchool page > Activities > Assignments > Weebly Website > Hand In button