WeVideo - "Making your Movie" - Step by Step

|
Directions
Please come and get the Multimedia Movie Project Packet (located on my desk) which contains elements for our Multimedia Unit with WeVideo. At various times (SEE STEPS ON THE PAGE BELOW) during this project you will need to complete a handout (Step 1 thru Step 3 below) in this packet. Doing research, finding visuals for topic, and planning out your project will be completed before you begin working in the WeVideo app. Upon completion of your WeVideo Multimedia Movie you must turn in this packet to class basket for points. 20 POINTS POSSIBLE |
Step 1 - Multimedia Movie Facts - Research your topic |
Use the Internet and find at least 15 facts on movie topic
• Complete the Multimedia Movie Project Facts pages
• You MUST use 3 different websites (citations, sources) for your facts!
These facts will eventually be incorporated into your multimedia movie (text and voice-over narration)
• Complete the Multimedia Movie Project Facts pages
• You MUST use 3 different websites (citations, sources) for your facts!
These facts will eventually be incorporated into your multimedia movie (text and voice-over narration)

Step 2
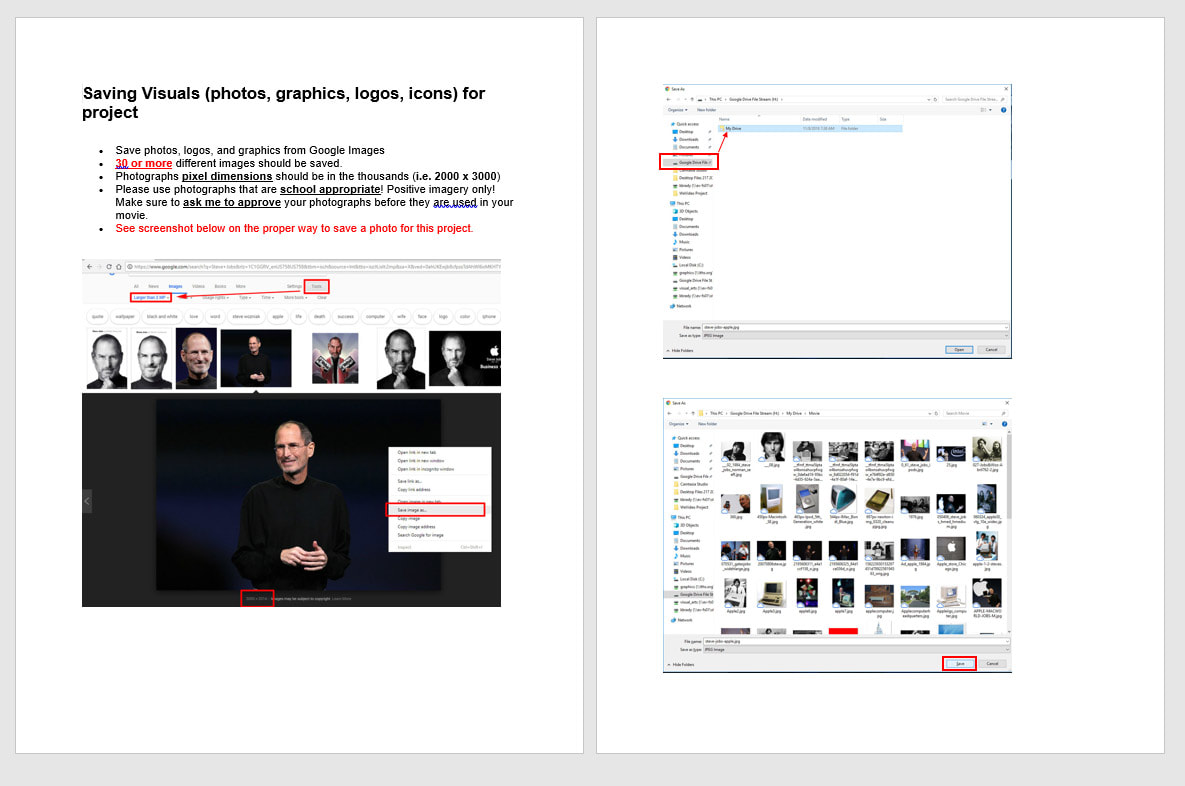
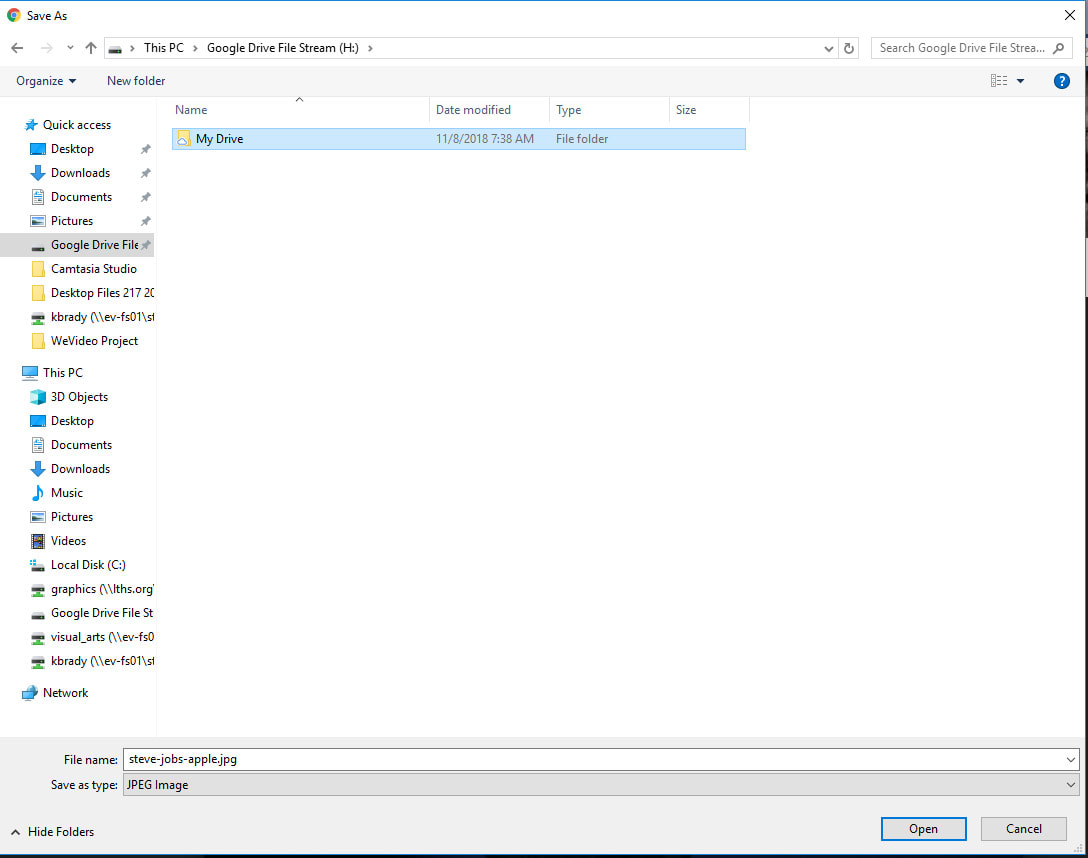
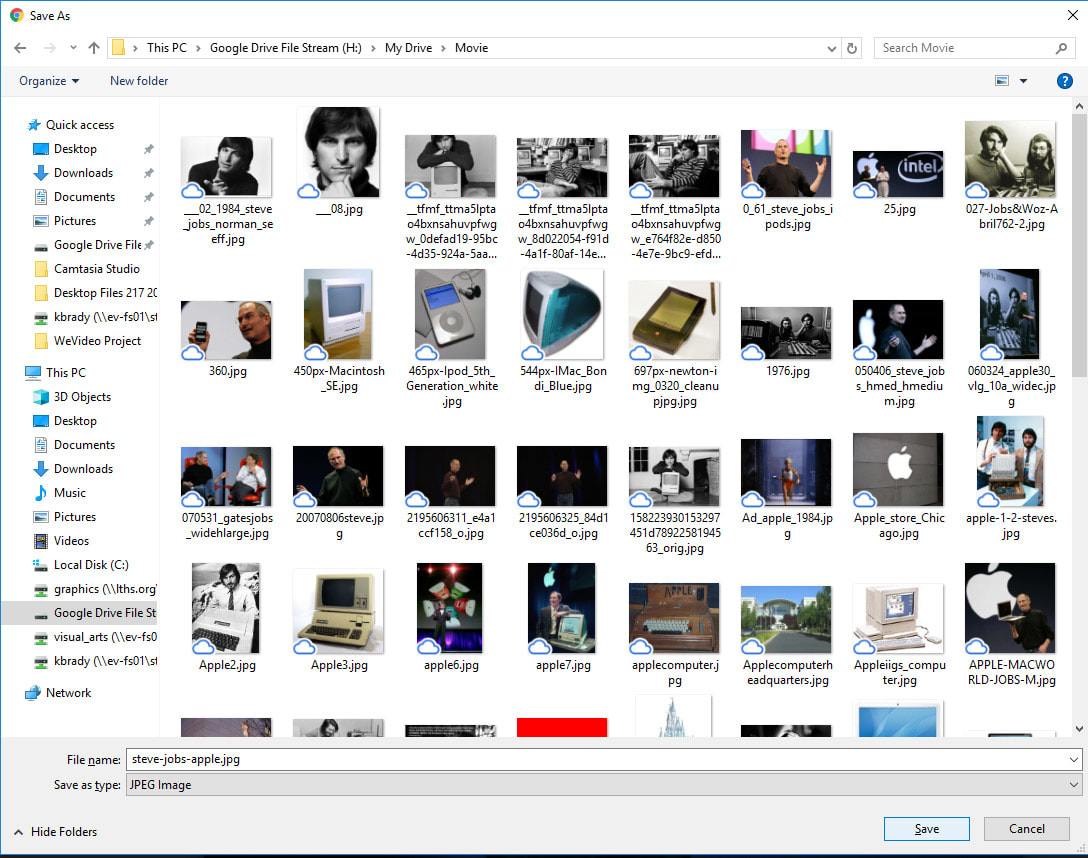
Step 2 - Saving your project Visuals (photographs, graphics, logos and illustrations for project |
- Save all kinds of different kinds of visuals from Google Images
- 20 or more different images should be saved. The longer your project length, the more visuals you'll need!
- Photographs pixel dimensions (width and height of images) should be in the thousands (i.e. 2000 x 3000)
- Please use visuals that are school appropriate! Positive imagery only! Make sure to ask me to approve any imagery before they are used in your movie if you are in doubt if threy should be used.
- Do you remember how to save full sized images and do advanced image searching? Click here if you need help or See screenshots below on the proper way to save a photo for this project.

Step 3
Step 3 - “Brainstorming” Planning my Multimedia Movie |
Complete the Multimedia Movie Project Facts handout located in the Multimedia Movie Project Packet.
PLAN OUT and WRITE down HOW you are going to develop your multimedia movie from the beginning to the end.
PLAN OUT and WRITE down HOW you are going to develop your multimedia movie from the beginning to the end.

Step 4
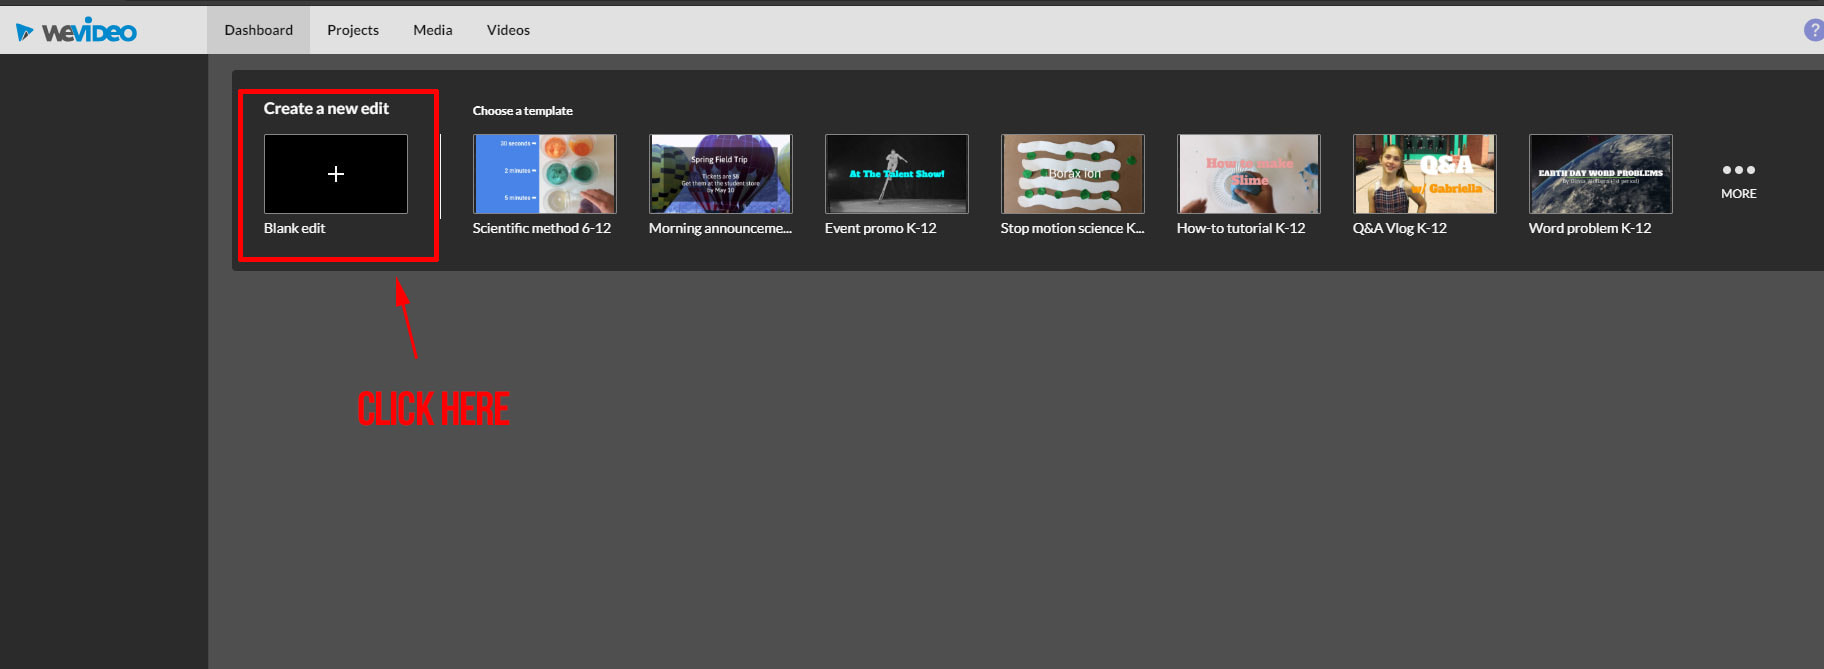
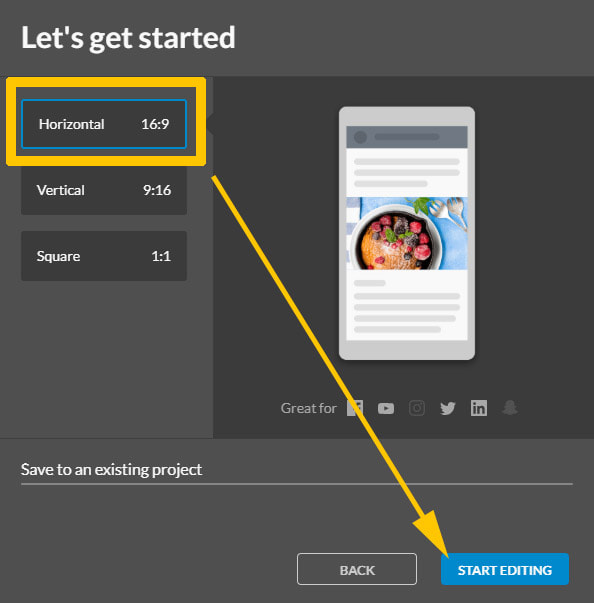
Step 4 - Log-in to WeVideo and set up your project and begin working |
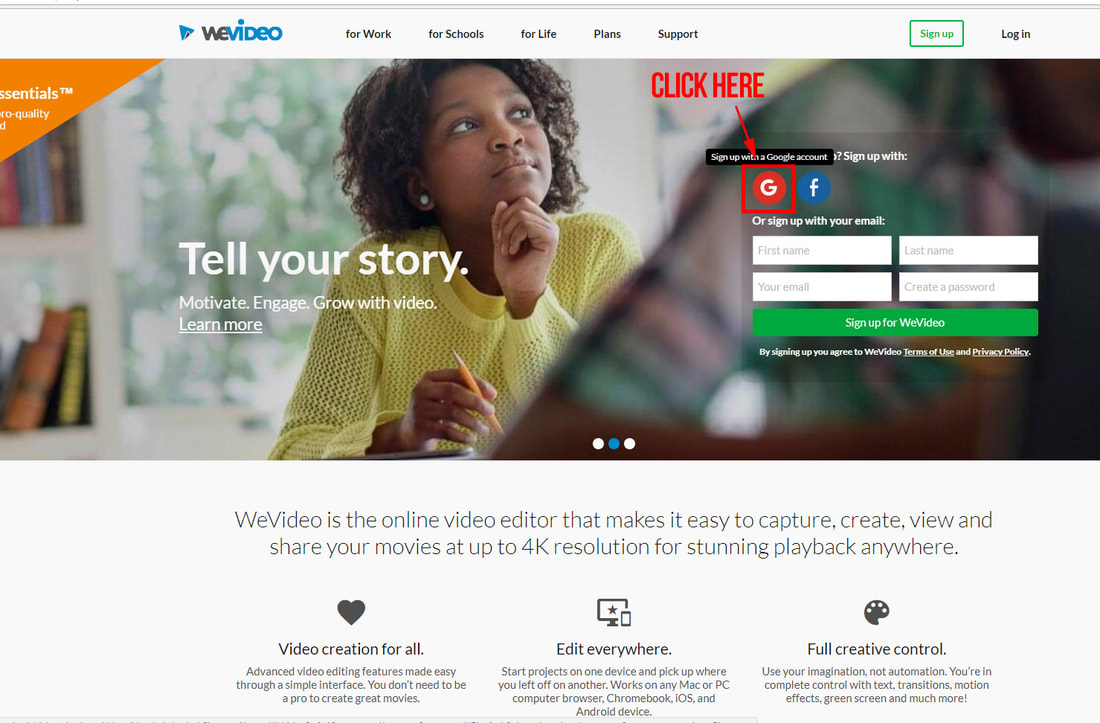
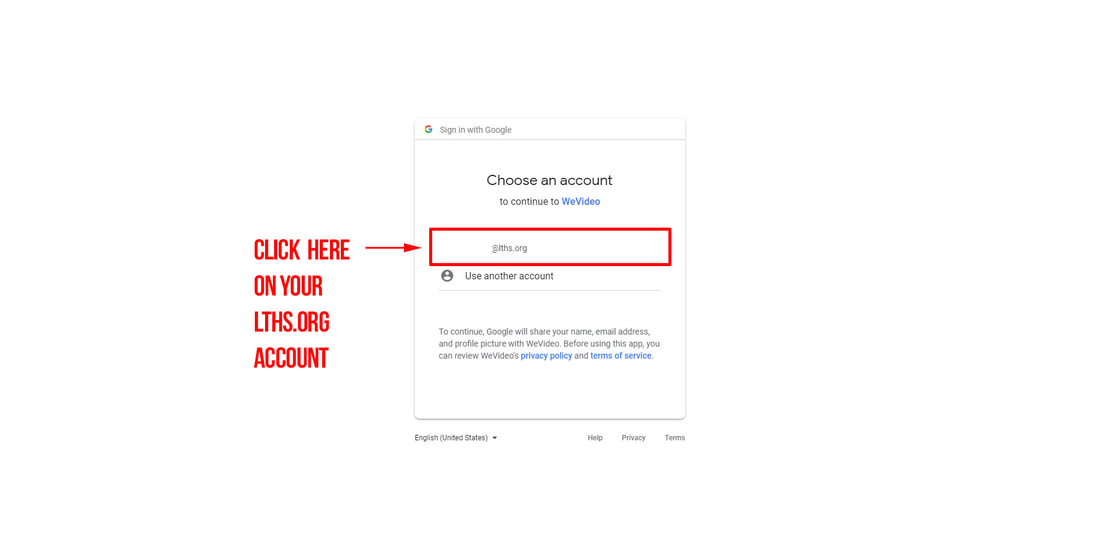
Go to www.wevideo.com
Click Log in with Google Button. As long as you sign in with your LTHS account you have a WeVideo account they can use from most devices (Chromebooks/computers).
Click Log in with Google Button. As long as you sign in with your LTHS account you have a WeVideo account they can use from most devices (Chromebooks/computers).
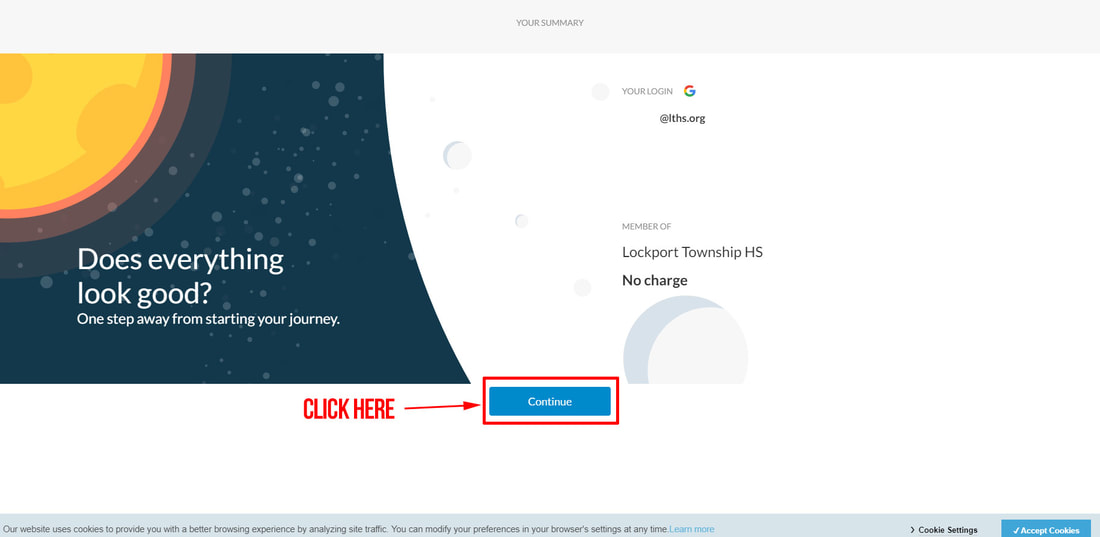
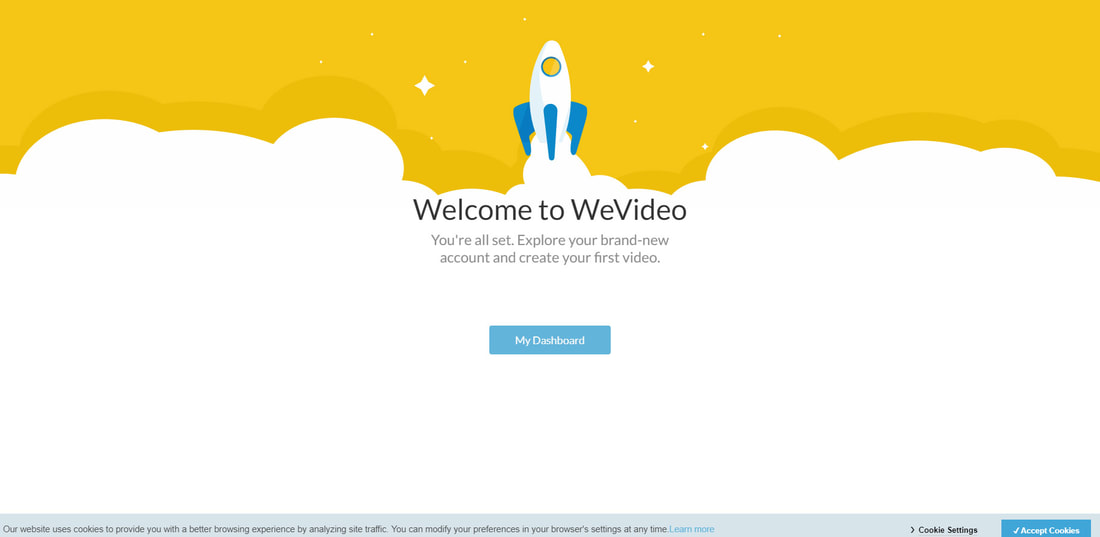
Look at photos below to help you with this set up...
3
4
5
6
7
8
Step 5
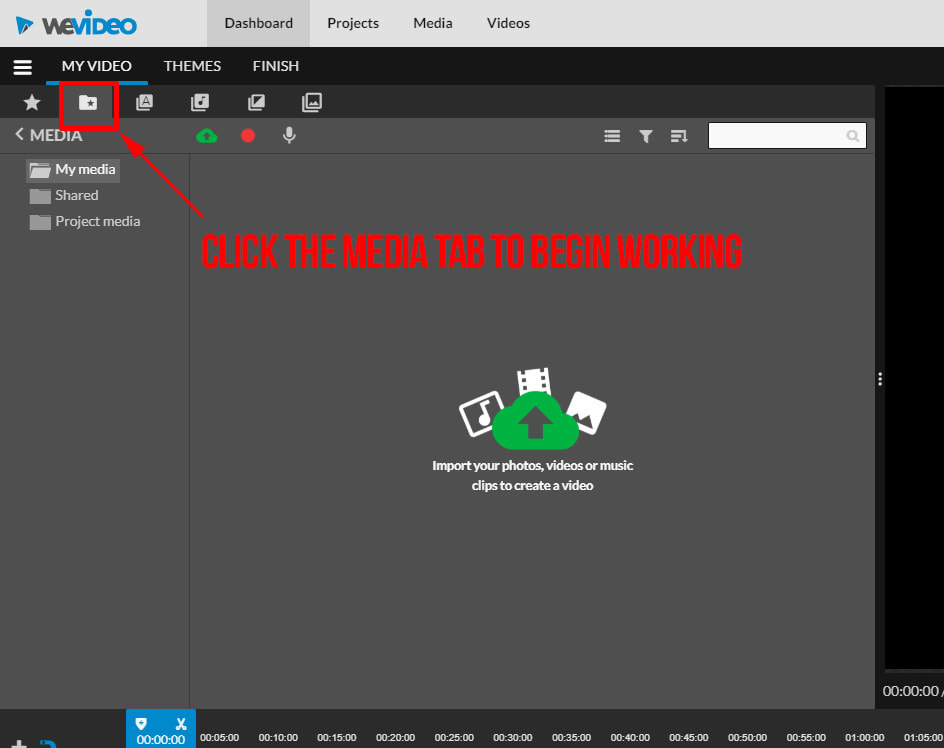
Step 5 - Start your assignment in WeVideo.
|
Step 6
Step 6 - Creating a "Rough Cut" of your movie |
Use WeVideo to create a rough cut movie. A rough cut of your movie is a very basic starting point. In this beginning stage of your project you will add in the elements like text (title, credits and facts on subject) and your visuals (photos, graphics, logos) in the order you want them to be seen from the start to the end. It will look something like the example below:
Step 7
Step 7 - Add an appropriate free background soundtrack song
|
Here are additional free sound-track music sites to check:
- https://www.bensound.com/royalty-free-music
- http://freemusicarchive.org/genre/Soundtrack/
- https://incompetech.com/music/royalty-free/collections.php
- https://www.free-stock-music.com/
- https://creativecommons.org/about/program-areas/arts-culture/arts-culture-resources/legalmusicforvideos
- http://www.freeplaymusic.com/
- www.adweek.com/digital/royalty-free-music/
Step 8
Step 8 - Now add these finishing elements in WeVideo to refine and enhance your movies overall look and feeling when watching it.
|
Adjust the Timing of your Scenes in WeVideo (text or photo scenes)
Making your scenes longer or shorter
Add Transitions between your scenes
Add Animation on some (not all) of your scenes
Watch the video below on what Animation (the Ken Burns Effect) looks like in your WeVideo project.
Now watch and listen to the video below on how to add Animation (the Ken Burns Effect) in your WeVideo project.
Explore the use of adding Themes to your project.
Could using one of these themes enhance or help the overall visual look of the project?
Add your Ending Credits to your project
Include the following in your Rolling Credits
-- Your Name
-- The 3 websites you used for facts about your movie
-- Music title or name of the song
-- Your Name
-- The 3 websites you used for facts about your movie
-- Music title or name of the song
BEFOREThis is what the multimedia Movie looked like after Step 5 - before starting Steps 6 and 7 |
AFTERExample of what the Multimedia Movie will look like after completing Steps 6 and 7 |
|
|
|
Step 9
Step 9 - Recording & Editing Voice over Narration (Required)
|
- Record Narration/Voiceover with WeVideo (This must be completed in a quiet place at Home or in the Media Center using your Chromebook. It should take about 10 minutes or less to record your voice over)
* Fixing a Chromebook Mic that's NOT working
When you try and record your voice over narration and it won't work see the video below to fix it
When you try and record your voice over narration and it won't work see the video below to fix it
EXAMPLE of FINAL Multimedia Movie after completing
Step 9 - Voice over Narration
Step 10
Step 10 - Shooting your own Video (OPTIONAL - NOT REQUIRED)
Shooting your own Video (Optional), not required, for up to 20 possible EXTRA CREDIT points.
Video is another of the components that you COULD incorporate into your multimedia project. It may ONLY be done the following way:
- Use your phone to take the video. You need permission and pass from me if doing this in school!
- Record a video of yourself talking about why or how this chosen topic is important to you, interview someone asking them questions about your topic, or if you like to act, find some friends and act out a scene for a public service announcement style movie.
- Upload that video to your Google Drive
- Import that video to WeVideo like you did with your photos
YOU MAY USE UP TO 30 SECONDS OF VIDEO IN YOUR 2:00 TO 3:30 MINUTE PROJECT.
THIS IS THE MAXIMUM AMOUNT OF VIDEO THAT COULD BE USED!
YOU MAY USE LESS THAN 30 SECONDS BUT NO MORE THAN 30 SECONDS TOTAL.
- Trim and Split clips with WeVideo OPTIONAL PART OF PROJECT (video clips that are too long can be cut)